When you click on links to various merchants on this site and make a purchase, this can result in this site earning a commission. Affiliate programs and affiliations include, but are not limited to, the eBay Partner Network.
They don't work. I get 12 volts at the connector but not at the right bulb where the wiring is slightly exposed.. I suspect the switch. How do I remove the mirror to inspect and clean the components?
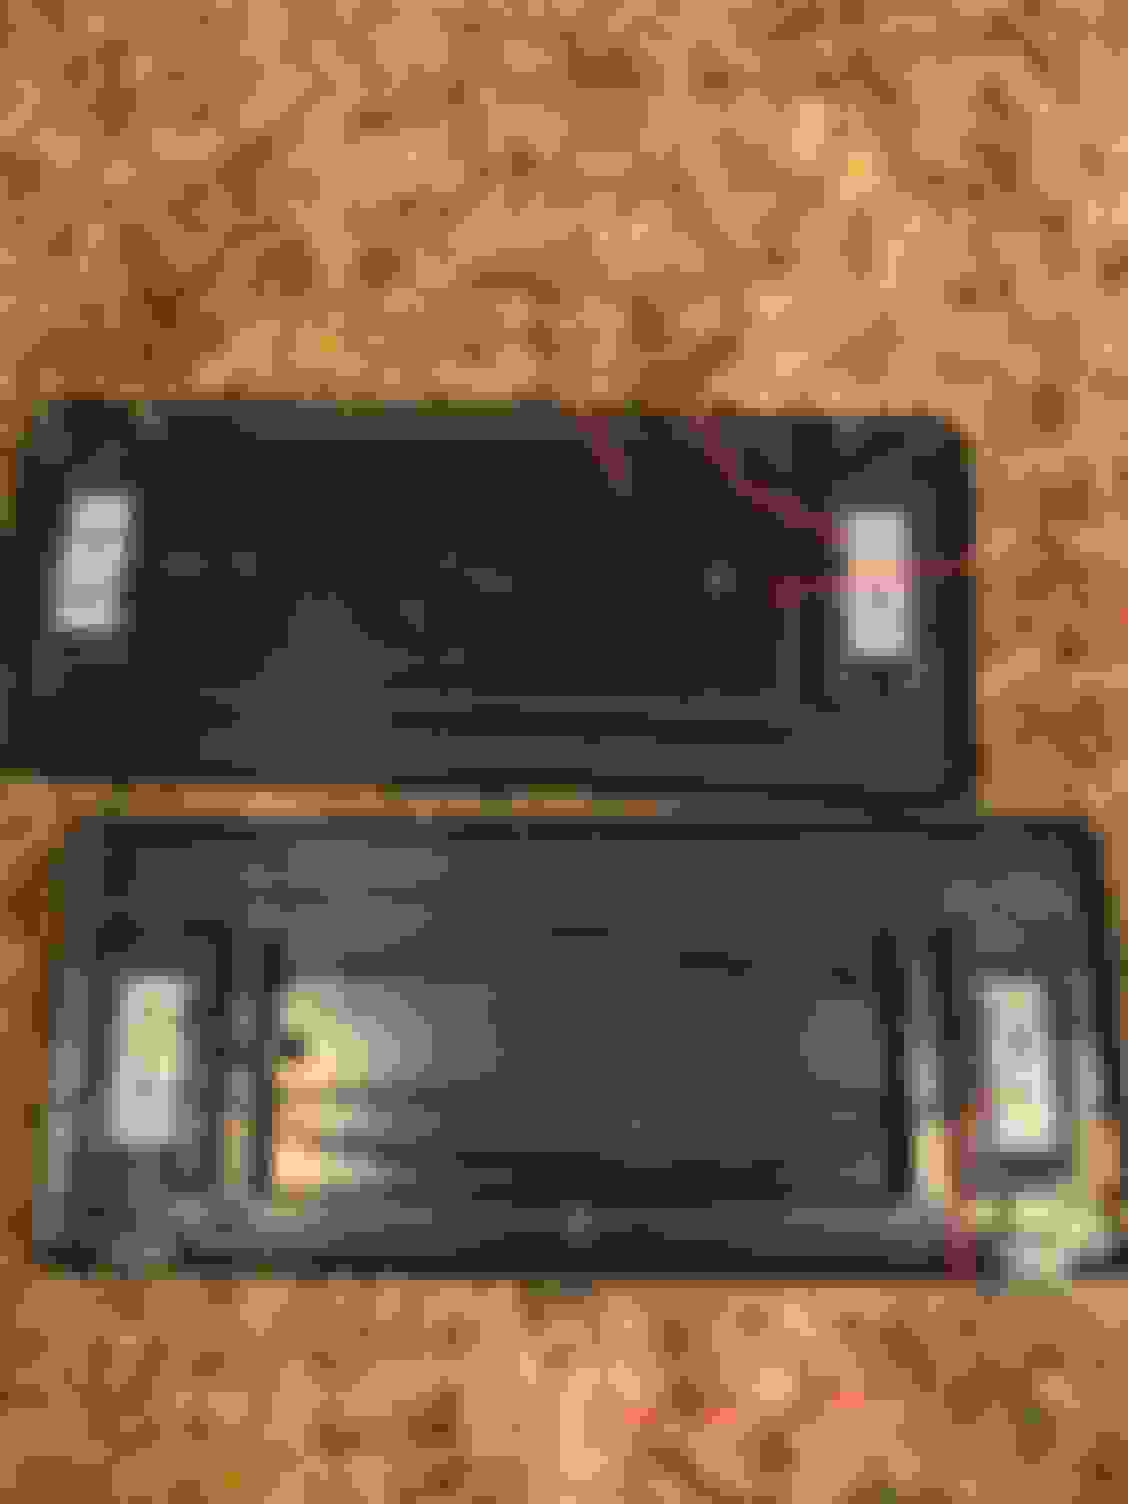
The filaments to the bulbs look intact but at 39 years I'm replacing all the bulbs that I can find. The kit that I bought lacks these two bulbs. What is the number of the bulb?
The visor vanity mirror just snaps into two plastic bushings in the visor. If you have a Corvette America catalog, they usually have a picture of a visor without the mirror installed, showing the location of the cutouts for the bushings.
To be honest, I don't know how successful you'll be with the switch. The visor mirror in my 81 stopped working 30 years ago, and I've never been able to fix it? The switch is a tiny little white plastic push button switch. I've taken one apart and there's not much to it, but I still couldn't get it to work. I have two used mirrors I picked up to cannibalize for parts, and the switches were bad in both of them.
I finally bought a reproduction lighted vanity mirror, when they came out about 10 years ago, but haven't done anything with it. The repro's only come in about 5 colors, and not the 81 slate gray my 81 needs. I checked the repro and it works, and I could try dying it, but the pattern on the mirror cover is different than the original mirror. If I ever take my 81 for NCRS judging again, I'll probably try to get my mirror working by stealing the switch out of the repro mirror, but I'm not really in any hurry to start parting out a new $120 repro mirror.
As far as the bulb number, I have no idea what it is, and it's not included in the list of bulbs in the back of the owners manual.
If you get your mirror looking, I'd like to hear how you did it.
I popped the mirror off and as expected the round clips are a one-time use.
I sprayed contact cleaner inside the switch but could not get it to work. I popped off its cover, cleaned the inside and stretch the spring and it make continuity now.
The first picture shows the switch internals. There is a C-clip on the plastic pin, and when the door is open the pin allows the spring to act on the clip, making contact with the metal frame.
The second photo shows the cover, with metal contact for the other end of the spring.
The cover, however, is a one-time use as well, but I can probably glue it in place.
I gave up on the OEM switch. The spring tends to grab into the C-clip than the switch stops working. I bought some 1-amp, 6mm wide micro switches on Amazon that I should be able to fit.
I bought a replacement vanity mirror, actually ended up with two but that is another story. They were really nasty, bulbs were a poor fit in the holders and the micro switch was pretty pathetic. Anyhow I swapped out the bulbs for led lights from a 6th gen Camaro visor. They fitted really easy, used a tiny micro switch and now I have working vanity mirrors. I decided to do both sides. 6th Gen. Camaro LED units fitted. Quite easy to do. View from the front with LED units installed And here is one lit up
The cost of those two stupid bushings is a ripoff for what they are worth and I was just going to reassemble with two blobs of Goop Automotive but due to the C19 thing the micro switch that I ordered way back won't be here for another two or three weeks. So I took the opportunity to learn 3D CAD (again) and draw up the bushing. Sent it to my son who will 3D print it and mail it to me.
After waiting over four weeks for the switches that never came I cancelled that order and bought these. I was a little concerned that the depth would have it stick out the back of the visor put there is sufficient thickness that could take out a small amount of padding and backing board, then bent the contacts 90 degrees to make it fit. Drilled the hole a little bigger to fit the new switch actuator. I fabricated a pad from a blister pack and glued the switch in place. Works perfectly.

 03-23-2020, 10:35 PM