When you click on links to various merchants on this site and make a purchase, this can result in this site earning a commission. Affiliate programs and affiliations include, but are not limited to, the eBay Partner Network.
Just ordered a 1994-1996 LT1 Intake manifold assembly including fuel rail, fuel pressure regulator, and injectors, as well as the 94-96 send/return lines that go from the fuel filter up to the rail!
Hopefully those lines bolt right up to my 1991 L98 lines and filter by the passenger footwell.
Also hopefully the lines at the fuel rail and the fuel pressure regulator play nice with a L98 Camaro or truck small cap distributor!
A friendly fellow from thirdgen is lending me his distributor hole drilling jig!
I am still unsure of what modifications need to be done for the intake to bolt to my 113 aluminum heads, and additionally I am not sure how the throttle cable bracket is going to work.
Did some more research and it looks like 86-91 Corvette L98 aluminum cylinder heads 113 and 128 casting have 90 degree intake manifold bolt holes for all 12 intake manifold bolt holes unlike 86/87+ iron heads which have 90 degree holes for the 4 corner intake manifold bolt holes but then 72 degree for the intake manifold bolt holes in the center of the manifold/heads?
And LT1 intake manifolds (and heads) have 72 degree holes for all of them?
Could I cut down these spacers so that they just end up being the 17-18 degree angled spacers necessary to bolt an LT1 intake manifold to my 113 heads?
Insane. My understanding is that one needs to drill the LT1 intake manifold regardless?
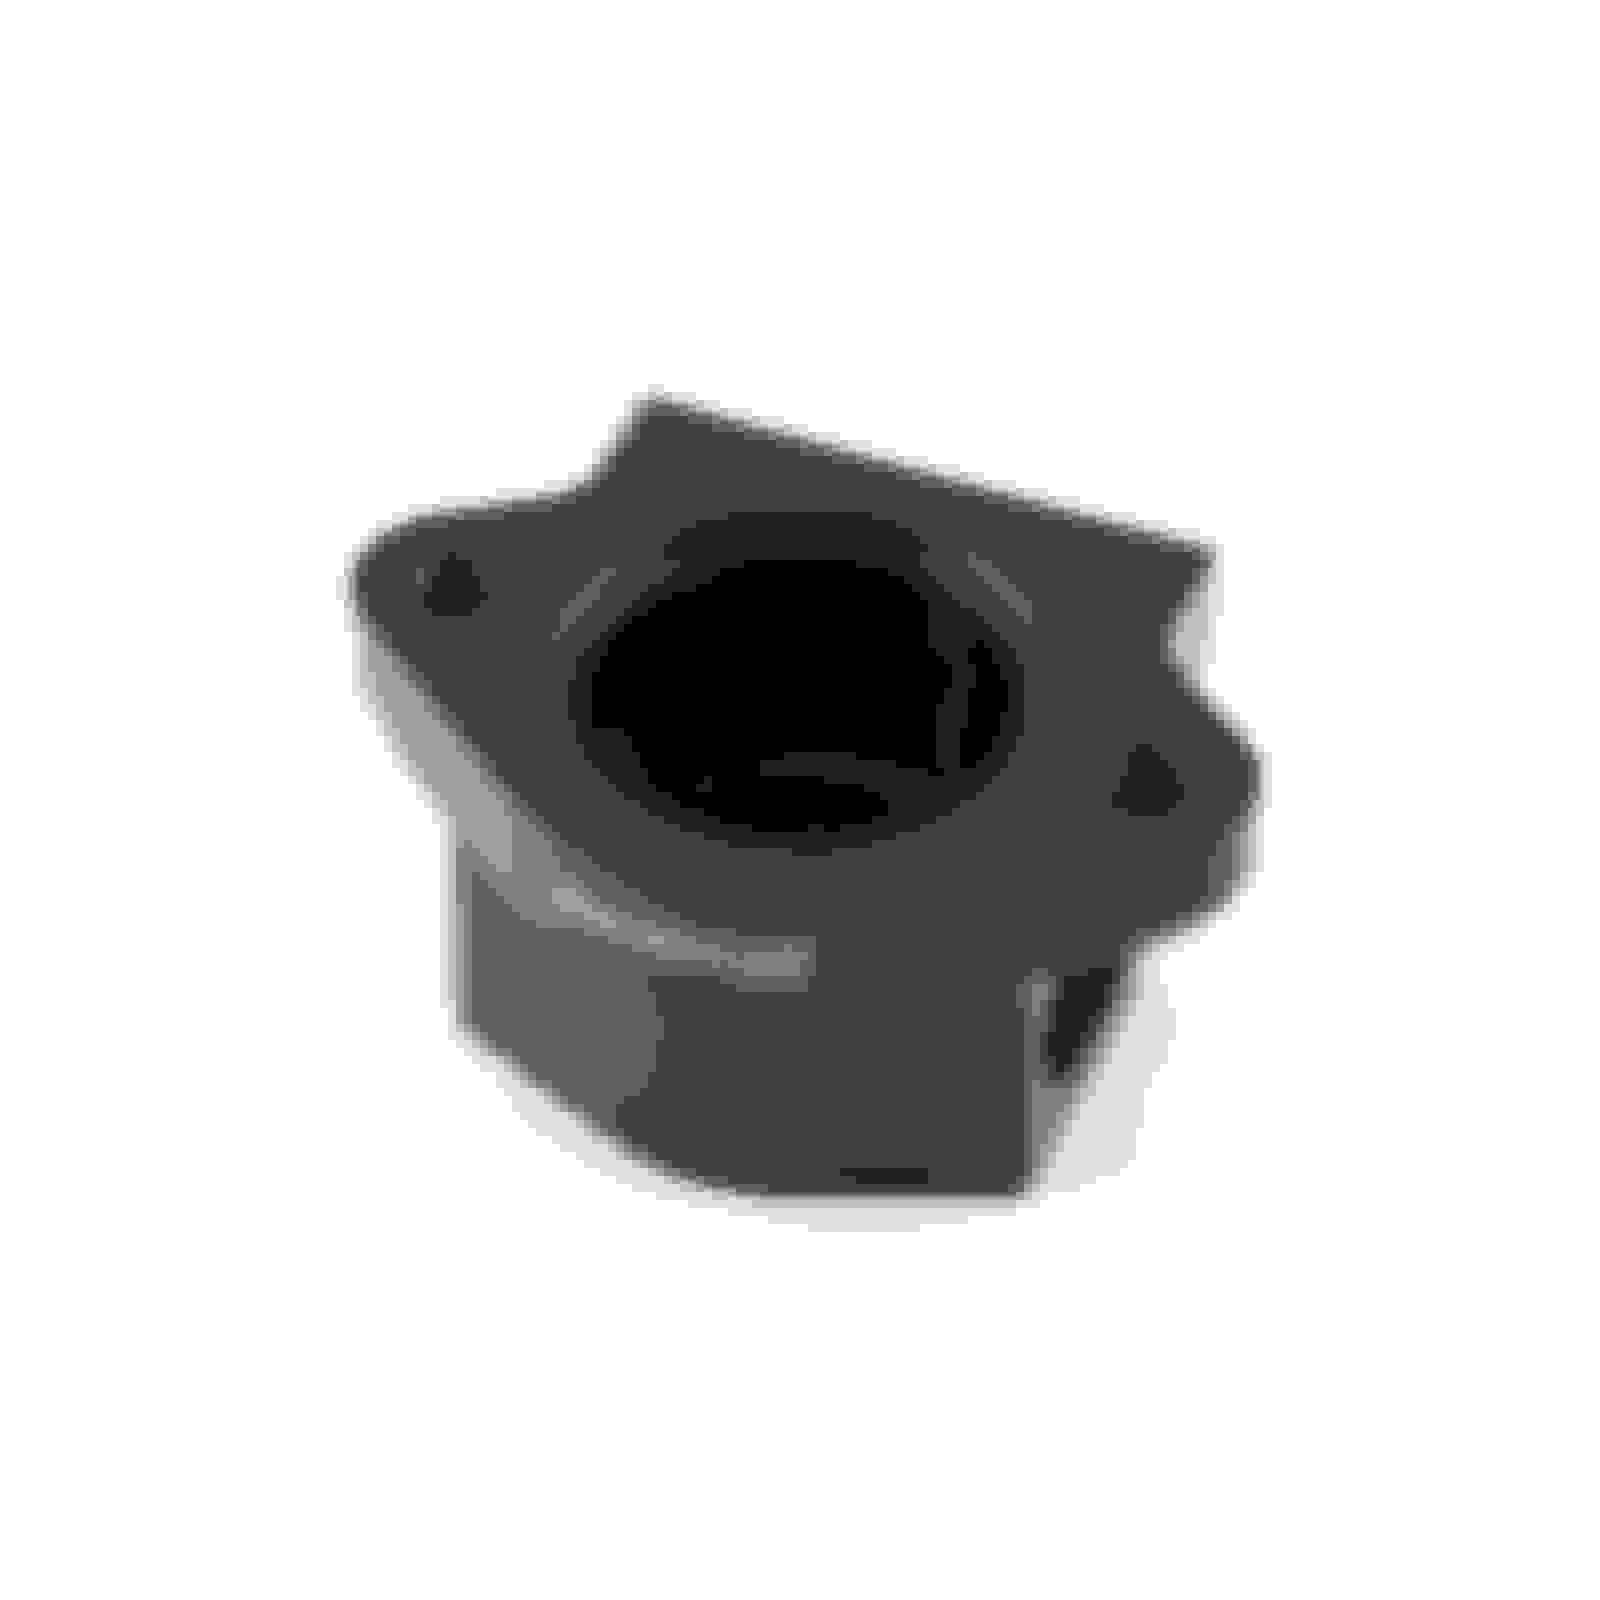
Also ordered this Speedmasters remote thermostat housing. Would have preferred get the Weiand one as it has a better form factor and already has the 3/8 NPT provision for the coolant temp fan switch sensor, however at $140 for the Weiand vs $55 for the speedmasters one...
I also need to get the heater hose fittings to plumb into the LT1 intake manifold.
Trying to decide between 3/4" vs 5/8" ID heater hose for the front two fittings that will run hot coolant out of the engine to the remote housing. Obviously a pair of 3/4" ID hoses will flow more readily than a pair of smaller 5/8" hoses, but the smaller hose a) Saves money because I already have 5/8" ID heater hose and b) I think will be easier to route and clearance other things like the throttle cables and throttle cable bracket just because of the physically smaller size.
Thoughts?
For the rear crossover passage I think a single 5/8" ID heater hose will work well.
Last edited by yakmastermax; 03-30-2023 at 10:05 AM.
Ordered smog pump delete kit for the 1991, as well as a super cheap 1992 Camaro small cap distributor, one of the chinesium ones. Is there a way to test the ignition control module? Or perhaps I just install an AC Delco ignition control module in it right out of the box?
What other parts of this cheap chinese distributor might I upgrade to increase the reliability of it?
Also can anyone recommend a budget ignition coil for this application?
In terms of spark control I need:
Small cap distributor, remote ignition coil, then one of those adapter harnesses?
With those items I should have everything necessary for spark control?
Also a kind forum member with an already converted LT1 intake has my back! In the event that I fail to successfully convert this intake, they have offered to sell me their already converted intake!!
Right now I think what I want to try to do is use the LT1 fuel lines that go from the fuel filter up to the fuel rail in order to get fuel from my 91 L98 fuel filter and return up to the converted LT1 intake manifold fuel rails.
I am looking at a parts car tha lt the seller is calling a 1994 Corvette. Here is a pic of the motor. Curiously the fuel rail inlet and outlet lines are on the DRIVERS side as opposed to the passenger side. My understanding is that all 92-96 vette LT1 had the fuel inlet/outlet on tbe passenger side and the lines routed down to the fuel filter near the passenger footwell.
On the other hand, LT1 camaros I do believe had tbe fuel inlet/outlet on the drivers said. Also note the valve covers look like camaro LT1 valve covers?
Perhaps this was a camaro LT1 motor that was swapped in?
Ordered 4x heater hose fittings, 1/2 NPT for 3/4" ID hose. 2 for the remote thermostat and 2 for the front of the intake manifold coolant passages.
I just got straight type ones to save money. Hopefully it clears on the throttle cable side. I might order a single 1/2 NPT by 3/4" Hose barb 90 degree elbow fitting just in case.
What are yalls thoughts on leaving the rear coolant passages blocked off?
Not ideal but to keep things simpler...
I am thinking of piping what amounts to a coolant bridge passage at the rear of the manifold using a pair of 1/2" NPT by 5/8" hose barb elbows or straight fittings and a short length of 5/8" heater hose to allow coolant to cross over back there.
I am concerned about clearance and fitment with the small cap distributor back there and fuel fittings and pressure regulator.
Ordered the necessary 1/2" NPT tap and drill bit, as well as the $25 Michigan motosports 87-92 TPI small cap distributor adapter harnesses.
Also ordered a Fel Pro P 1991 Corvette TPI intake manifold gasket set. Gonna use that to drill the coolant heater hose fitting holes, the intake manifold mounting holes, and clean up the air intake manifold passages.
OH ALSO
I read that the LT1 intake manifold air passage ports are larger and maybe offset a bit relative to the air passage ports (is that what they are called?) In my 1991 TPI 113 casting cylinder heads.
I read if I just bolt it up there will be a lip overhang where the cylinder head is blocking flow...
This might be a terrible idea but can I use a carbide dremel bit and then some smoothing bits to port the 113 cylinder head intake ports while it is on the car? Stuff the port with something and shopvac/blow out the ports after porting?
Also still looking for remote ignition coil recommendations as well as mounting inspiration!
OH ALSO
I read that the LT1 intake manifold air passage ports are larger and maybe offset a bit relative to the air passage ports (is that what they are called?) In my 1991 TPI 113 casting cylinder heads.
I read if I just bolt it up there will be a lip overhang where the cylinder head is blocking flow...
That sounds to me like the port difference between Vortec heads and regular heads. I wonder if the LT1 intake would match the ports on Vortec heads?
Remote thermostat arrived. It looks like it should work with the 1/2 NPT by 3/4" hose fittings I got for it. I'm interested to see where it gets mounted. I'm considering a straight out thermostat housing neck. We'll see
I also measured the ID of the distributor hole on my TPIS Big Mouth TPI intake manifold base. Came out to 1.400"
Most of the resources online spec 1.375" ID so I think I'm going to go with a 1.375" ID bit of some sort.
I'm not sure which bit to get. Any suggestions? Standard style drill bit like this one? Step drill bit? Hole cutter bit?
I do have access to a drill press but I was planning on using a hand drill actually after locating the pilot hole.
Also using a little trig I measured the angle of the distributor mounting surface to be somewhere between 4.1 and 4.5 degrees relative to the "flat" of the china wall "ramparts" surface.
Other resources on this cite 5 degrees to 8 degrees.
How critical is this angle?
Also, does anyone know the thread size for the coolant temperature fan switch sensor that goes into the front of the TPI intake manifold? I have to relocate this sensor/switch somewhere, and I need to drill and tap a hole for it. Is it 3/8" NPT?
Also when it comes to sealing the aluminum heater hose fittings to the aluminum remote thermostat housing as well as to the intake manifold, what should I use? Teflon tape? Permatex 59214 High Temperature thread sealant?
Also I reached out to PCM of NC, the people that did the chip tune for the owner previous to the previous owner of this car. They tuned it for the LT4 Hot Cam kit with 1.6 full roller rockers as well as long tube headers and dual exhaust muffler elite. I believe the tune was done though for the current TPI intake manifold setup. I asked them what they suggested for once I swap the LT1 intake manifold on there and they said it might run okay. I'm skeptical however since this is a speed density car...
What do yall think?
Also still looking for ideas for the remote coil mounting as well as suggestions for which remote ignition coil to buy. Ideally something inexpensive but decently reliable.
Also still trying to get input on port matching the LT1 intake to the 113 cylinder heads? I am open to hand porting the intake ports on the 113 heads to open them up to match the LT1 intake manifold if that is necessary. Should I order LT1 intake manifold gaskets to match the heads to? Is it possible to hand port heads still on the block in the car by just plugging everything really well then shop-vac and blowing everything out really well before reassembling? Aluminum is pretty soft anyway right lol
Also I just double checked and the Dorman 56360 aluminum Heater Hose fittings I got are spec'd as follows: 3/4 In. Hose X 1/2 In. Npt X 1-3/4 In. Long Nipple
Being 1-3/4" overall they should fit and clear the throttle cable bracket. That is good. Just gotta decide what to do in the rear. Also I'm really curious to see how the factory LT1 fuel rails, fuel pressure regulator, and fuel lines clear the small cap distributor in the rear.
Oh also ordered a rather inexpensive LT1 EGR block off plate kit. I would have preferred to go with TPIS but I'm really trying to keep this build as inexpensive as possible. I bought a $40 chinese small cap distributor for example. Watch the ignition control module be bad! https://www.levelzeromotorsports.com...=egr&results=7
I did get the TPIS plates for my 89 though.
Last edited by yakmastermax; 04-04-2023 at 02:31 AM.
I talked to my machinist buddy at work, and he suggested I go with that Klein tools carbide hole cutter and that I do it on a drill press, so I've ordered that hole cutter. I'm hoping I can clamp it down correctly!
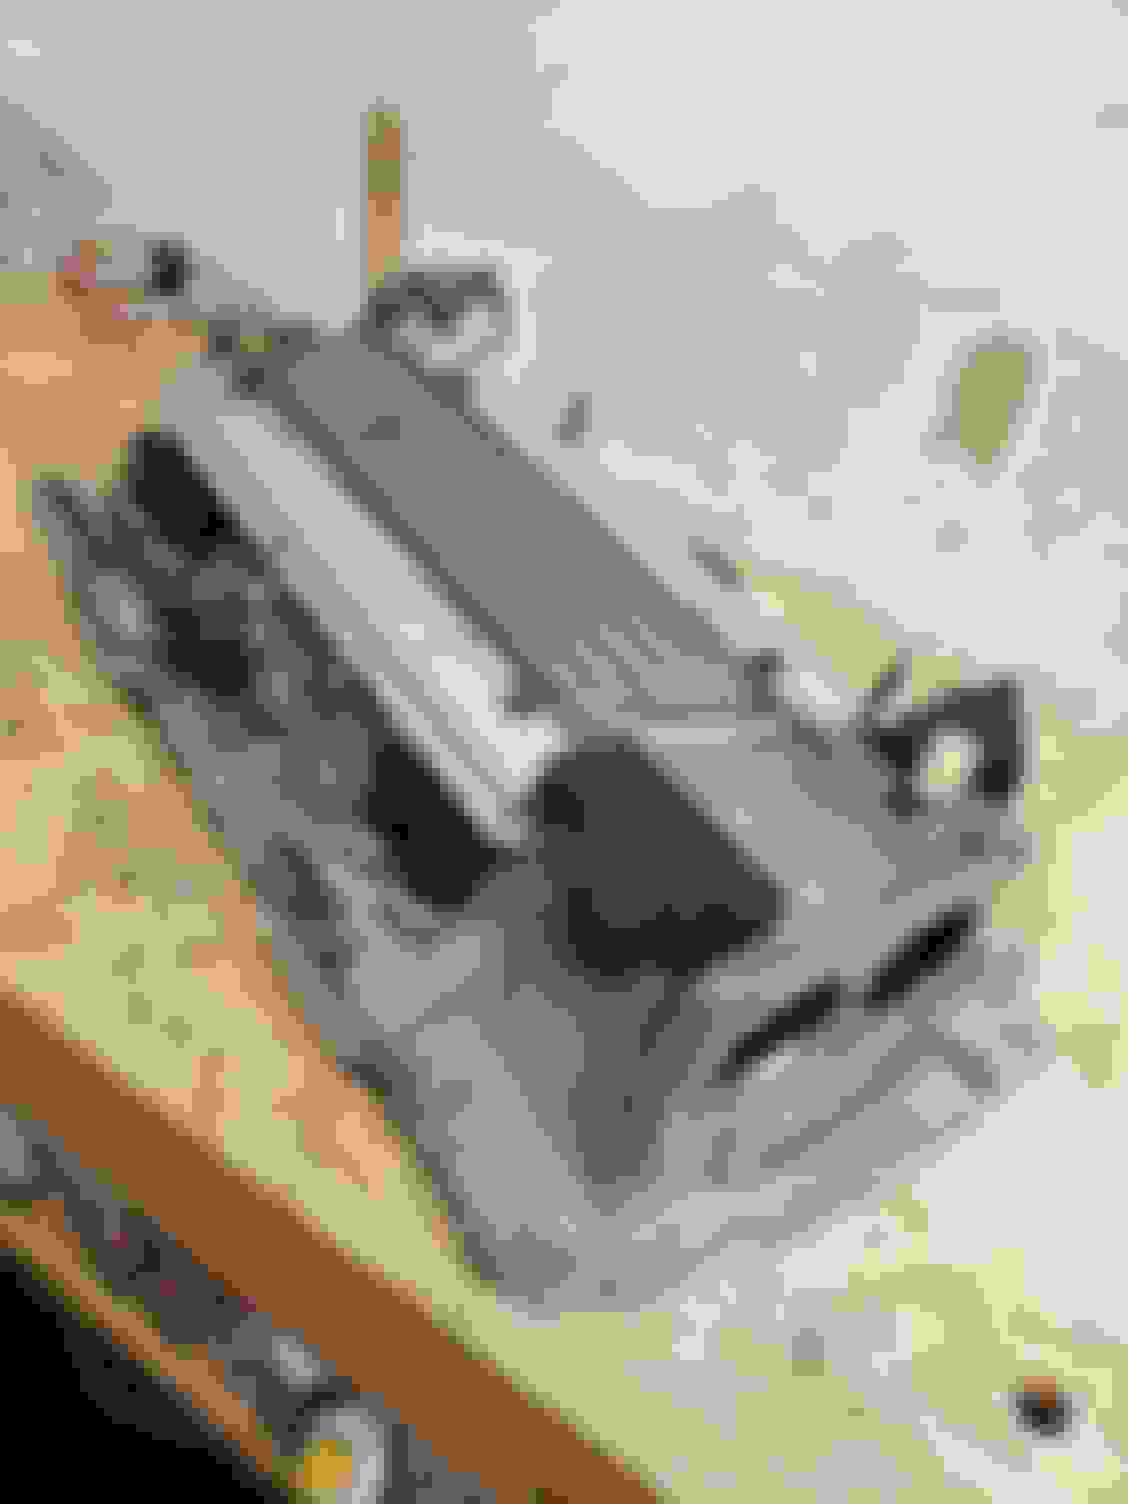
Also the LT1 intake manifold arrived.
First concern is that there won't be enough room at the rear for the small cap distributor without interference with the factory fuel lines, fuel pressure regulator, and fuel pressure Schrader port. The small cap distributor arrives tomorrow, but even then I can't really check fitment until I drill the distributor hole. I have a feeling that it MIGHT fit, but it will be a squeeze for sure! The backup plan is custom fuel lines to gain the clearance, but I really do think it is possible that the small cap distributor fits back there even with the factory fuel line bits including the factory pressure regulator.
Fingers crossed.
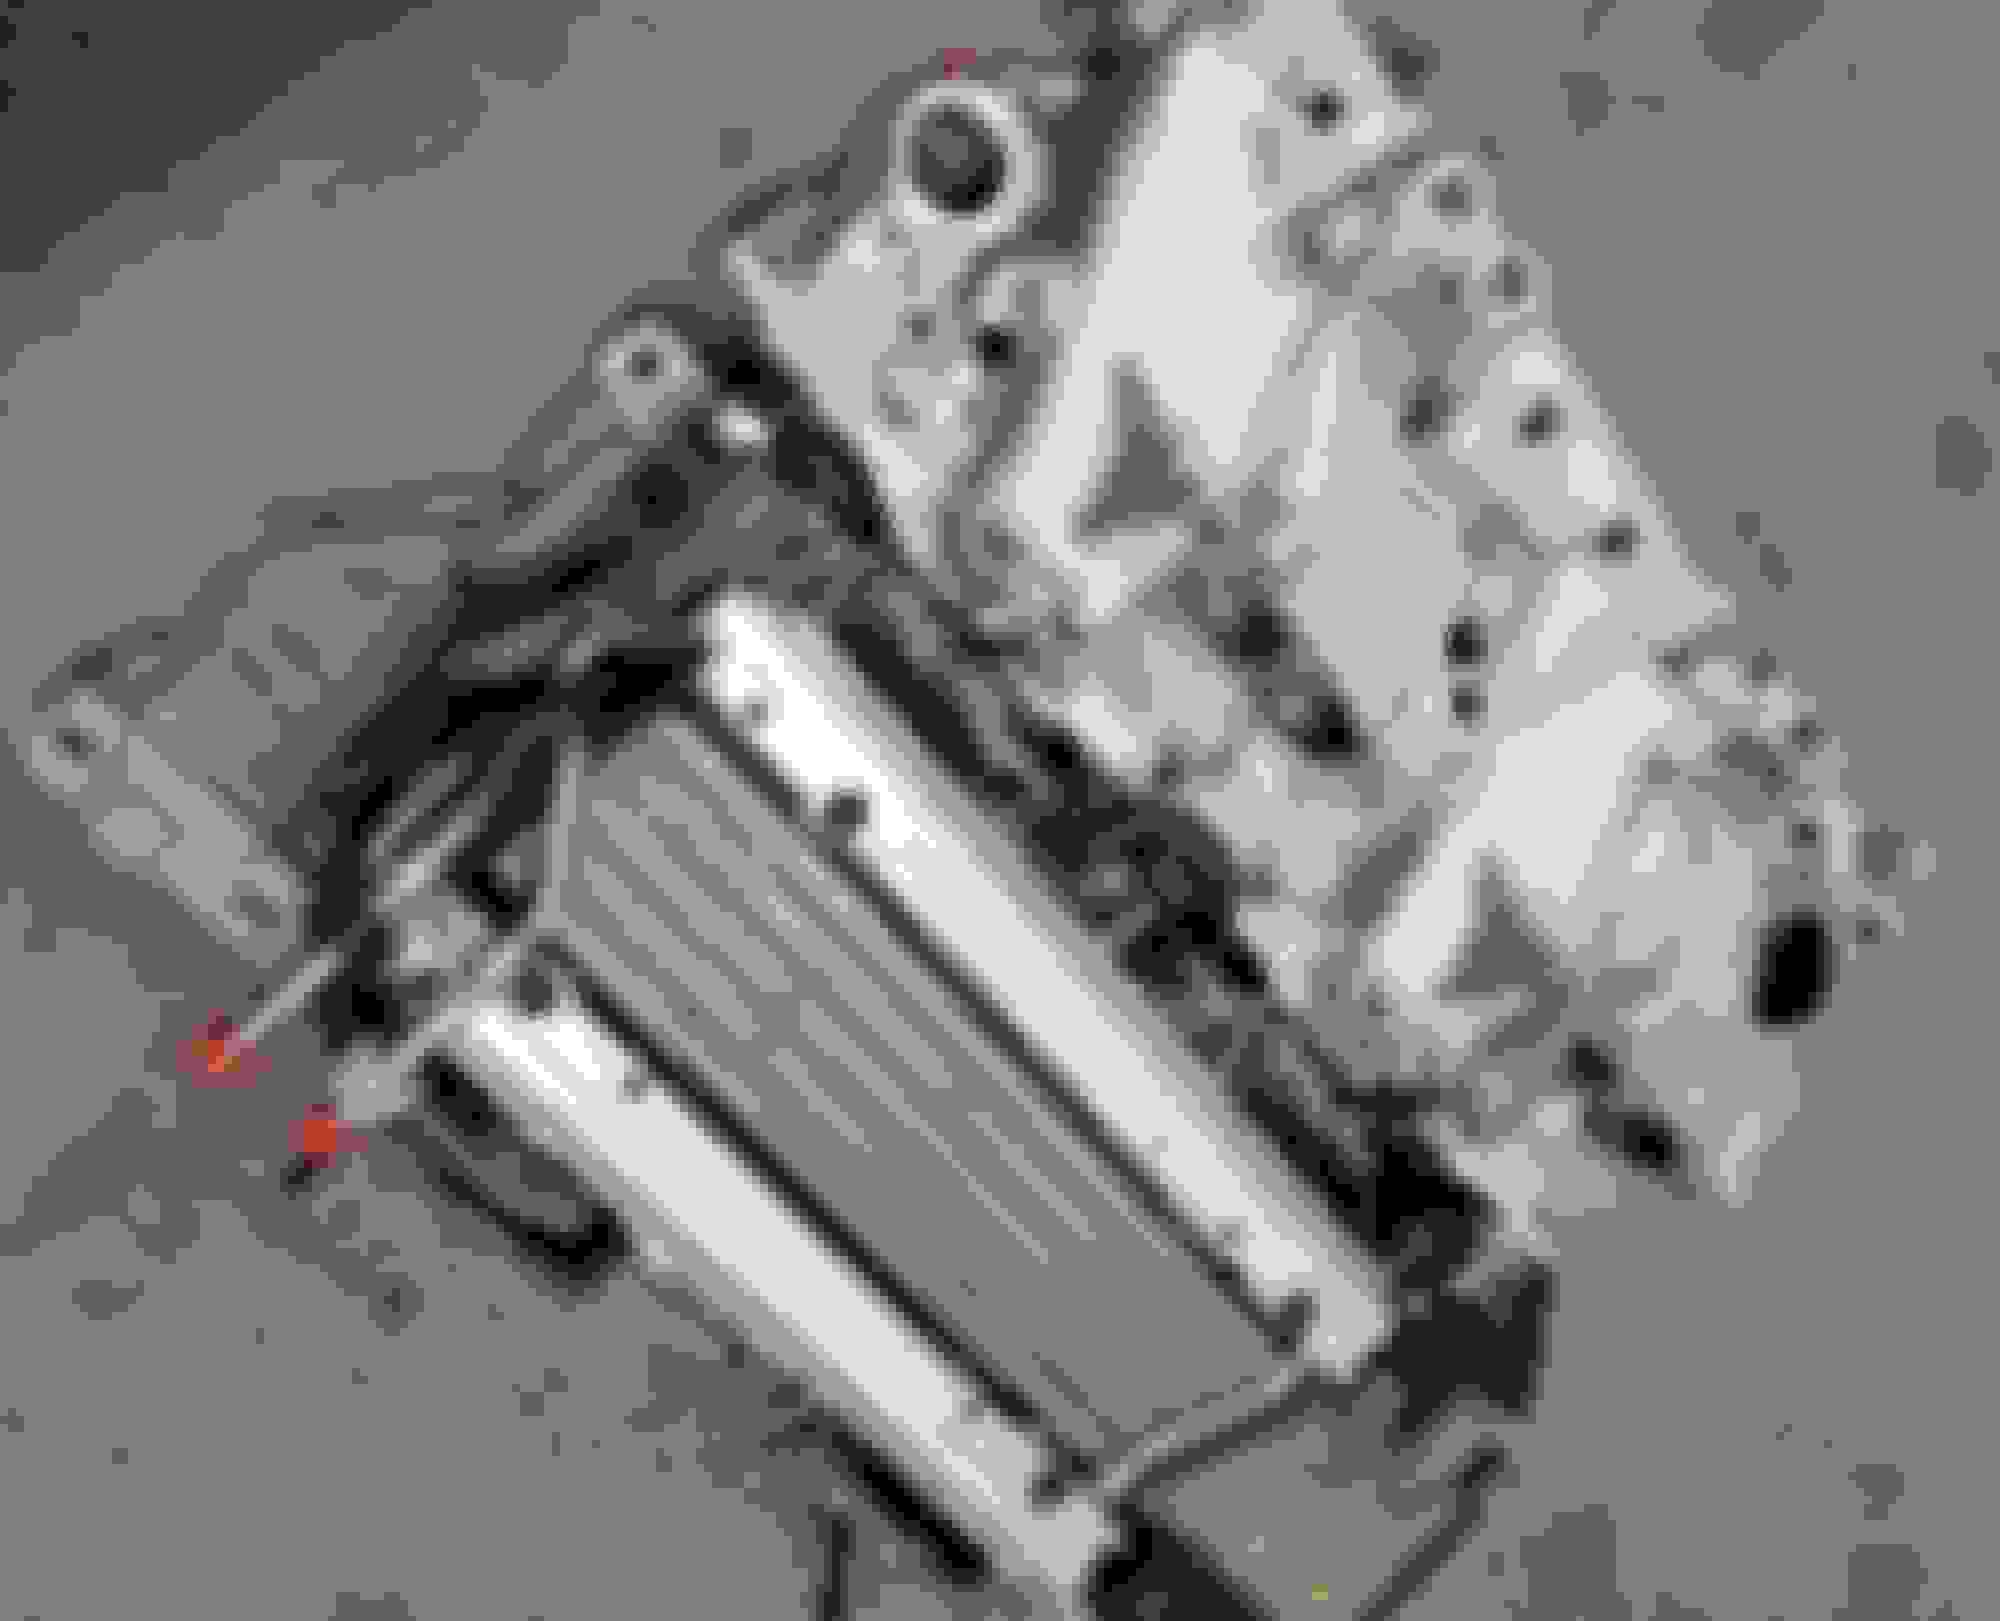
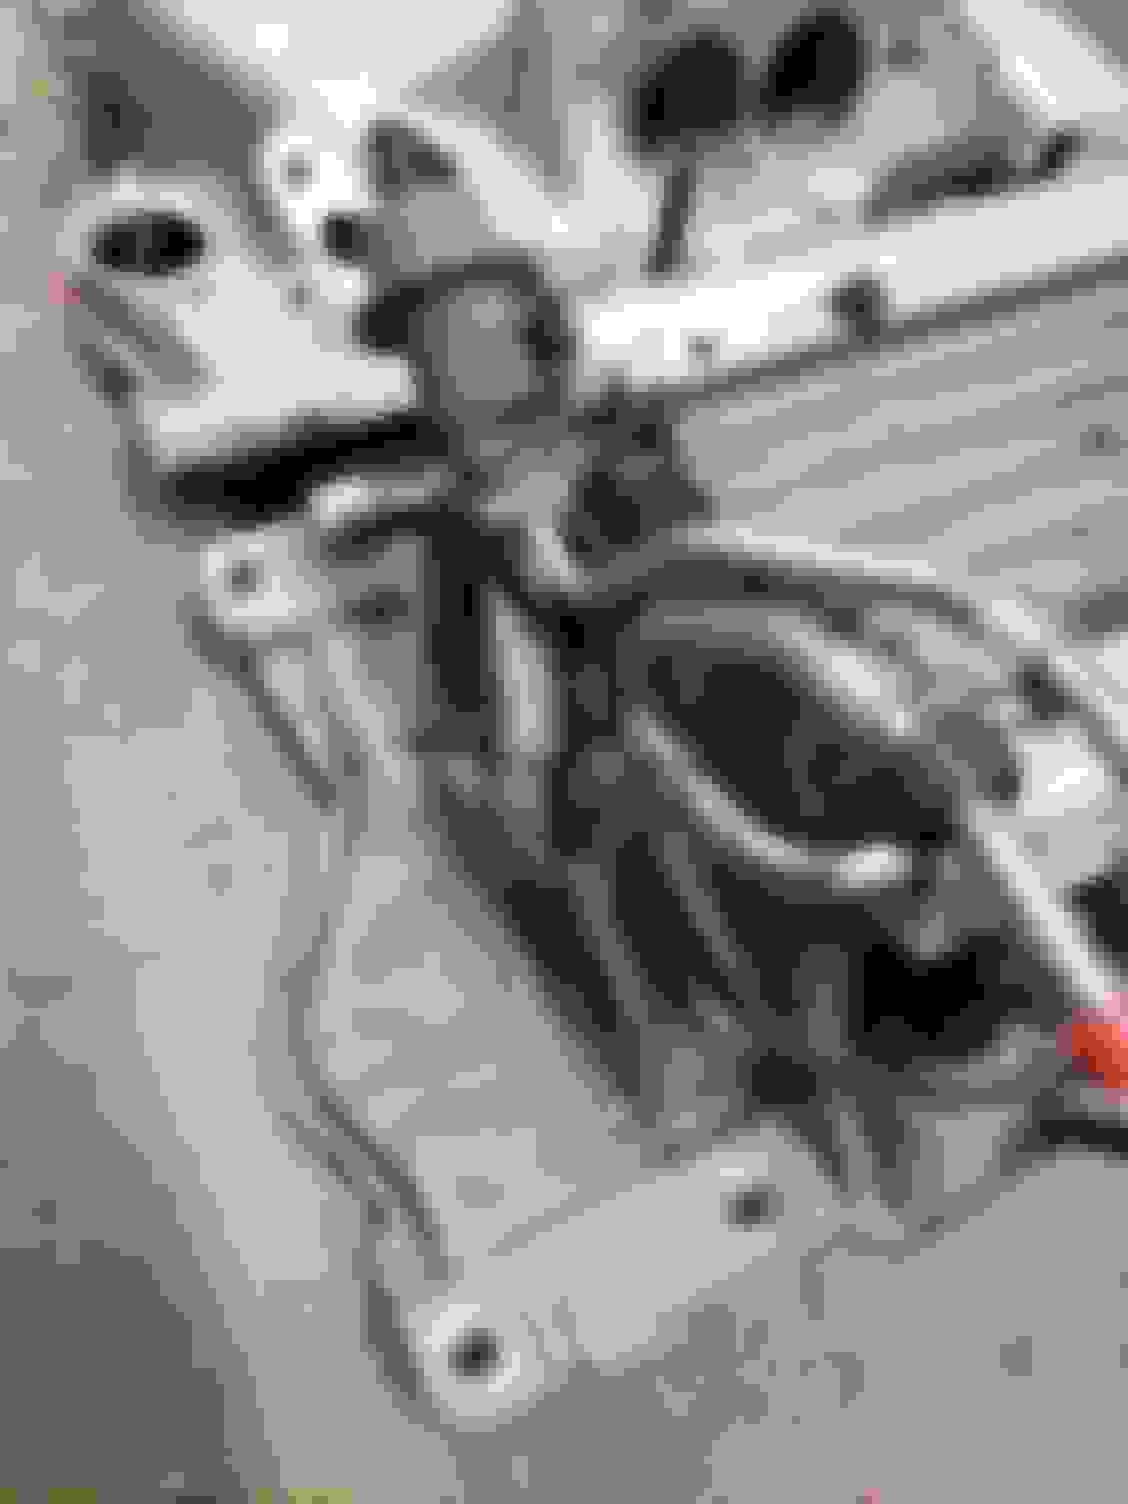
Second concern is the coolant port the front side by the throttle cable bracket. There are two bolt bosses right there in between the front drivers side two intake manifold bolt holes. I'm not sure what these bosses are for, but they appear like they're going to really get in the way of a coolant port there without milling them down then welding material in and machining it flat. I'm not sure. I'm a little concerned they open up into the front coolant passage there... We'll see once the intake manifold gasket set arrives. In the case that I can't use that front drivers side coolant passage spot, I'm not sure what to do. Perhaps use the drivers side rear passage as the drivers side head coolant exit, use the passenger side rear coolant passage for the passenger side head coolant exit, and just leave the front spots blocked off?
Third concern is the intake manifold bolt holes themselves. Of the 12 bolt holes total, 6 per side, only 4 out of 12 total line up with the TPI intake I have on hand, the 4 cornermost holes. Additionally, the 2nd bolt holes at each corner of the LT1 intake that are closer towards the center of the intake seem to overlap slightly with the 2nd bolt holes that the TPI intake has at each corner. I'm not sure how this can be fixed without "slotting" the intake manifold bolt hole into a sort of tracked slot, or welding and filling it then drilling a fresh hole that lines up with the "2nd" more center biased corner bolt holes.
The 2 center bolt holes that are on each side of the manifold obviously don't line up with the TPI bolt holes. These I'm less concerned about as there appears to be enough meat in the manifold at those spots to just drill holes at the correct angle, then perhaps hit the topside of the manifold with a dremel or mill to get it flat at the right angle for the bolt to clamp. This image I think shows the difference in bolt hole angle. The older pattern 113 heads have the intake manifold bolts running normal (perpendicular) to the head-intake manifold sealing surface, and so the top flange clamping side of the intake manifold that the bolts clamp down on is similarly parallel to the sealing surface. In the case of the LT1 manifold and heads, the intake manifold bolt holes run at an angle that is not normal/perpendicular to the head to manifold sealing surface. I'll run the trig later but I think some wedge washers of the correct angle ought to do the trick here.
What I'm leaning towards right now is slotting the 4 pairs of holes that are on the 4 corners of the manifold to work with the holes that are already in my 113 heads, and then just drilling 4 new center holes in the manifold to work with the holes in the 113 heads. I may or may not plug up the center 4 LT1 pattern holes.
Also the TPI intake manifold by the distributor hole is around 1.060" to 1.160" tall depending on where you measure. At the extremes I think it is around 1.00" tall (drivers side) and 1.2" tall passenger side. This is where the 4-4.5 degree angle comes from.
The LT1 intake manifold is around 0.085"-0.092" or so tall back there, variation mainly due to surface roughness. I'll mill that section flat to say 0.085" but then I need a minimum spacer of 0.350" thickness. I'm going to order a 1/2" aluminum plate to work with to mill that down. This plate will have the angle built in as well as a stud (I think, maybe just a bolt) to use with a nut to secure the distributor hold down. I'm hoping to NOT have to weld this adapter spacer plate to the LT1 manifold, but rather to bolt it to the LT1 manifold and seal it using maybe a home made gasket and or RTV.
Those are the main things I'm thinking of right now!
Still looking for remote coil recommendations and mounting suggestions, as well as porting suggestions to match my 113 cylinder head ports to the LT1 intake manifold ports.
Ooh one of the most promising things is the factory fuel lines that go from fuel filter and fuel return fittings down by the passenger footwell up to the drivers side look like they should fit nicely! I'm a little concerned about proximity to the headers, but all the more reason to replace the current cheapo uncoated headers with ceramic coated ones in the future. I also haven't confirmed bolt on compatibility of the fuel line fittings with the L98 fuel filter and return line fittings that are down there currently, but I hopeful it will just bolt up!
Last edited by yakmastermax; 04-05-2023 at 02:30 AM.
Also I reached out to PCM of NC, the people that did the chip tune for the owner previous to the previous owner of this car. They tuned it for the LT4 Hot Cam kit with 1.6 full roller rockers as well as long tube headers and dual exhaust muffler elite. I believe the tune was done though for the current TPI intake manifold setup. I asked them what they suggested for once I swap the LT1 intake manifold on there and they said it might run okay. I'm skeptical however since this is a speed density car...
What do yall think?
I would say the same thing: try it first. These people make a living out of selling tunes to guys like you, and even they are saying you might not need another tune. Although the car with the TPI intake runs out of breath around 5000rpm (even with the hot cam), presumably the tables extend well past that RPM, and presumably the values at 6000rpm (the most you'll need after the intake swap) are basically the same as they are at 5000rpm. Therefore, I think you'll be okay on the top end. You might find that the spark advance could be bumped around 2500-3000rpm if it's been softened there to deal with the TPI spike in cylinder pressures, but that's a big "if" and I'd wait and try it first.
My understanding is that the speed density based tune has no way of compensating for any genuine change in volumetric efficiency. Actual increases in air flow are simply not accounted for?
I was hoping the LT1 intake manifold would do more than just extend the usable RPM band but that it would also be a better fit for the cam at all RPMs and would result in a VE increase that while maybe not strictly necessary to adjust the tune for, would legitimately result in an increase in power given an adjusted VE table.
The car pulls decently smooth and certainly pulls better above 4500 than my 89 does, but it lacks the oomph and feels slower than the 89. Hoping to change that. I will get it on the dyno eventually. Haven't decided if I am going to dyno it before the intake swap though.
Anyway, I am far more concerned about the other stuff like optimal coolant routing and the potential for a lip overlap between the cylinder head intake port and the LT1 intake port. Any suggestions on this? Can I open up the 113 cylinder head intake ports to match the LT1 ports while leaving the heads on the block in the car? Rags and shopvac and air compressor blower plus dremel and bits?
should I buy an LT1 intake manifold gasket set in order to use that to open up the 113 head ports?
Also I am struggling to figure out a way to jig up the manifold so that I can do the machining that I want to on the mounting flanges.
I want to machine the mounting flange such that the top side is parallel to the intake manifold to cylinder head sealing surface deck, but without somehow securing the manifold to the mill table on edge end... I don't see how to get a tool in there at the right angle. I think I am gonna bug my buddy about how to mount it on edge end such that the end mill bit is parallel to the sealing surface deck.
This will thin the flange for sure, but avoids angled washers and seems like a cleaner install.
perhaps some steel flat washers can help make up for the thinner flange, IF I can figure out how to do the machine work I want to.
Also the plan is to use these LT1 injectors. I believe these flow more than the stock 91 L98 injectors?
Last edited by yakmastermax; 04-06-2023 at 11:54 AM.
My understanding is that the speed density based tune has no way of compensating for any genuine change in volumetric efficiency. Actual increases in air flow are simply not accounted for?
Also the plan is to use these LT1 injectors. I believe these flow more than the stock 91 L98 injectors?
My understanding is that the speed density based tune has no way of compensating for any genuine change in volumetric efficiency. Actual increases in air flow are simply not accounted for?
If the current tune reduces the VE above, say, 5000rpm to account for the TPI intake restriction, then you may end up needing a new tune. But you really should try what you have first. Ideally, you'd use a wide-band to see what the AFR is doing above that, and then tune from there.
I was hoping the LT1 intake manifold would do more than just extend the usable RPM band but that it would also be a better fit for the cam at all RPMs and would result in a VE increase that while maybe not strictly necessary to adjust the tune for, would legitimately result in an increase in power given an adjusted VE table.
If it extends the same torque to a higher RPM range, then it is creating a VE increase at those RPMs and giving you a legit increase in power.
The car pulls decently smooth and certainly pulls better above 4500 than my 89 does, but it lacks the oomph and feels slower than the 89. Hoping to change that. I will get it on the dyno eventually. Haven't decided if I am going to dyno it before the intake swap though.
There's no point spending time and money on a dyno pull if you're going to swap the intake anyway. There's no mystery regarding the effects of the intake swap. It would just be a waste. Just do the work and then run it on a dyno with a wide-band and see if you need a tune then.
Trying to figure out what to do with the rear coolant provisions. Originally I was going to plumb in a simple crossover at the rear so coolant could pass from the rear of one head to the other, but the intake manifold gaskets have those ports basically blocked off anyway. I did a search and read various threads...basically there doesn't seem to be a real consensus on the rear coolant provisions for L98 motors...
My 1991 L98 does have that little coolant line running from the rear coolant passage to a T that then goes into I think either a heater hose line or back to the high pressure reservoir?
I am wondering what is the best course of action here with this stuff, both with simplicity in mind, but also good reliable performance... block off the rear passages entirely and cap that little line? Run the crossover and open up the gaskets for full rear crossover flow and plumb that line in?
Also.... looking at the LT1 intake manifold ports vs the L98 TPI intake manifold gaskets... the TPI intake manifold intake ports in the gasket are wider than the LT1 ports, but the LT1 ports are a little taller... should I open up the gaskets at the top and bottom some so that the height matches the LT1 ports, and plan to open up the 113 cylinder head intake ports at the top and bottom to match the LT1 intake ports also? Additionally open up the width of the LT1 intake manifold ports so that their width matches the TPI port width?
What do yall think about doing a little head porting like this with the heads still on the block in the car? Judicious use of shop rags and shop vac and air compressor blowing to prevent any aluminum bits from getting into the motor....
If I can find time today I am going to try to drill the LT1 manifold for the new intake manifold to cylinder head bolt holes. If I have time after that and can jig it up right I also want to mill the topside of the manifold sealing flange so that the intake manifold bolts seat flush against the flange when screwed into 90* degree small block heads.
The hardest part is going to be securing the manifold to the drill press and mill table...
Last edited by yakmastermax; 04-07-2023 at 12:00 PM.
Made some progress on the 1991. Confirmed that the previous owner did indeed install a chip. Looks like it has a chip adapter installed into the ECU, and a chip from PCM of NC.
I think I'll be able to tweak the tune a little by just getting a burner and some spare chips, as the car has the adapter already installed. One nice thing about the 1991 and 1990 L98 cars is that the ECU is way easier to access for chip swapping than the 85-89 L98 cars where the ECU is up and behind the passenger side hush panel.
Also was messing with the cheap chinese special small cap 87-92 Camaro distributor. The adapter harness from Michigan Motorsports plugs right it. The OD of the section just below where the hold down clamp goes is 1.250" while most chevy 350 intake manifold distributor holes are 1.375" or 1-3/8"
I did some digging and this pair of dimensions seems pretty standard.
I also confirmed that 1/2 NPT hose fittings are SMALLER and do indeed fit inside the coolant passage.
Also, chevy 350 intake manifold bolts are 3/8-16 which means they have an OD of 3/8" or 0.375"
The intake manifold bolt holes in the LT1 intake are 0.450" ID or so. Bit confusing as most machinist references say that the clearance hole for a 3/8" or 0.375" bolt should have an ID of around 0.386" to 0.395" or so.
The measured 0.450" ID holes in the intake manifold then are rather large...
Bump for still trying to figure out the rear coolant passages and also on motor in car cylinder head intake port porting to match the LT1 intake manifold.
Last edited by yakmastermax; 04-10-2023 at 09:10 AM.
 03-29-2023, 05:56 PM


 Trying it costs $0.00.