When you click on links to various merchants on this site and make a purchase, this can result in this site earning a commission. Affiliate programs and affiliations include, but are not limited to, the eBay Partner Network.
While it’s helpful to watch youtube videos on head unit installations, there are some details that aren’t covered, which would take some of the guess work out. Generally documentation is lacking Ready to install What I installed Fairly easy Easy Hard to push in and pull Easy I used a small screwdriver to pry and pull. Hard to see this without a flashlight This is horizontal and very hard to pinch and pull.
on what is exactly being installed. Disconnecting the six console connectors on my 2012 was easy once I figured out how the connectors disconnected. The wiring usually looks a total mess, with a note that it can all be shoved to the right of the unit. I’m not saying Kenwood is the best, but I can say the wiring followed the instructions, and it totaled worked. No mention in the instructions about the three factory connectors that will not be used. The Kenwood includes the chime (sounds terrible), GPS, and mic. There are two USB cables that for me, ended up in the glove box. You lose the USB at the rear of the console. I’m sure there’s a way to reconnect it to one of the two USB’s provided. The backup camera, which is a Kenwood, plugs directly into the head unit. No cutting into the backup lights for power. Only the two large connectors from the GM11 plug into the existing factory cables. Yes, the steering wheel controls work fine. Bluetooth to the Iphone, no problem. Apple Car Play perfect. Backup camera too.
Thanks Wayne, helpful when folks share this kind of information so others learn from others experience. Gotta ask...is the sledge hammer used when the frustration mounts and no resolution is apparent? How often did you need to resort to that tool? LOL
The hammer didn’t come out this time. I was prepared for a battle and took it pretty slow. Spent 3.5 hours on the install. Still have to mount the mic, and GPS.
Thanks Wayne, helpful when folks share this kind of information so others learn from others experience. Gotta ask...is the sledge hammer used when the frustration mounts and no resolution is apparent? How often did you need to resort to that tool? LOL
Again thanks for sharing.
GD
I have had so much help from this forum. I try to pay back when I can. Not much frustration on this one. Just took my time, and was very careful with the connections.
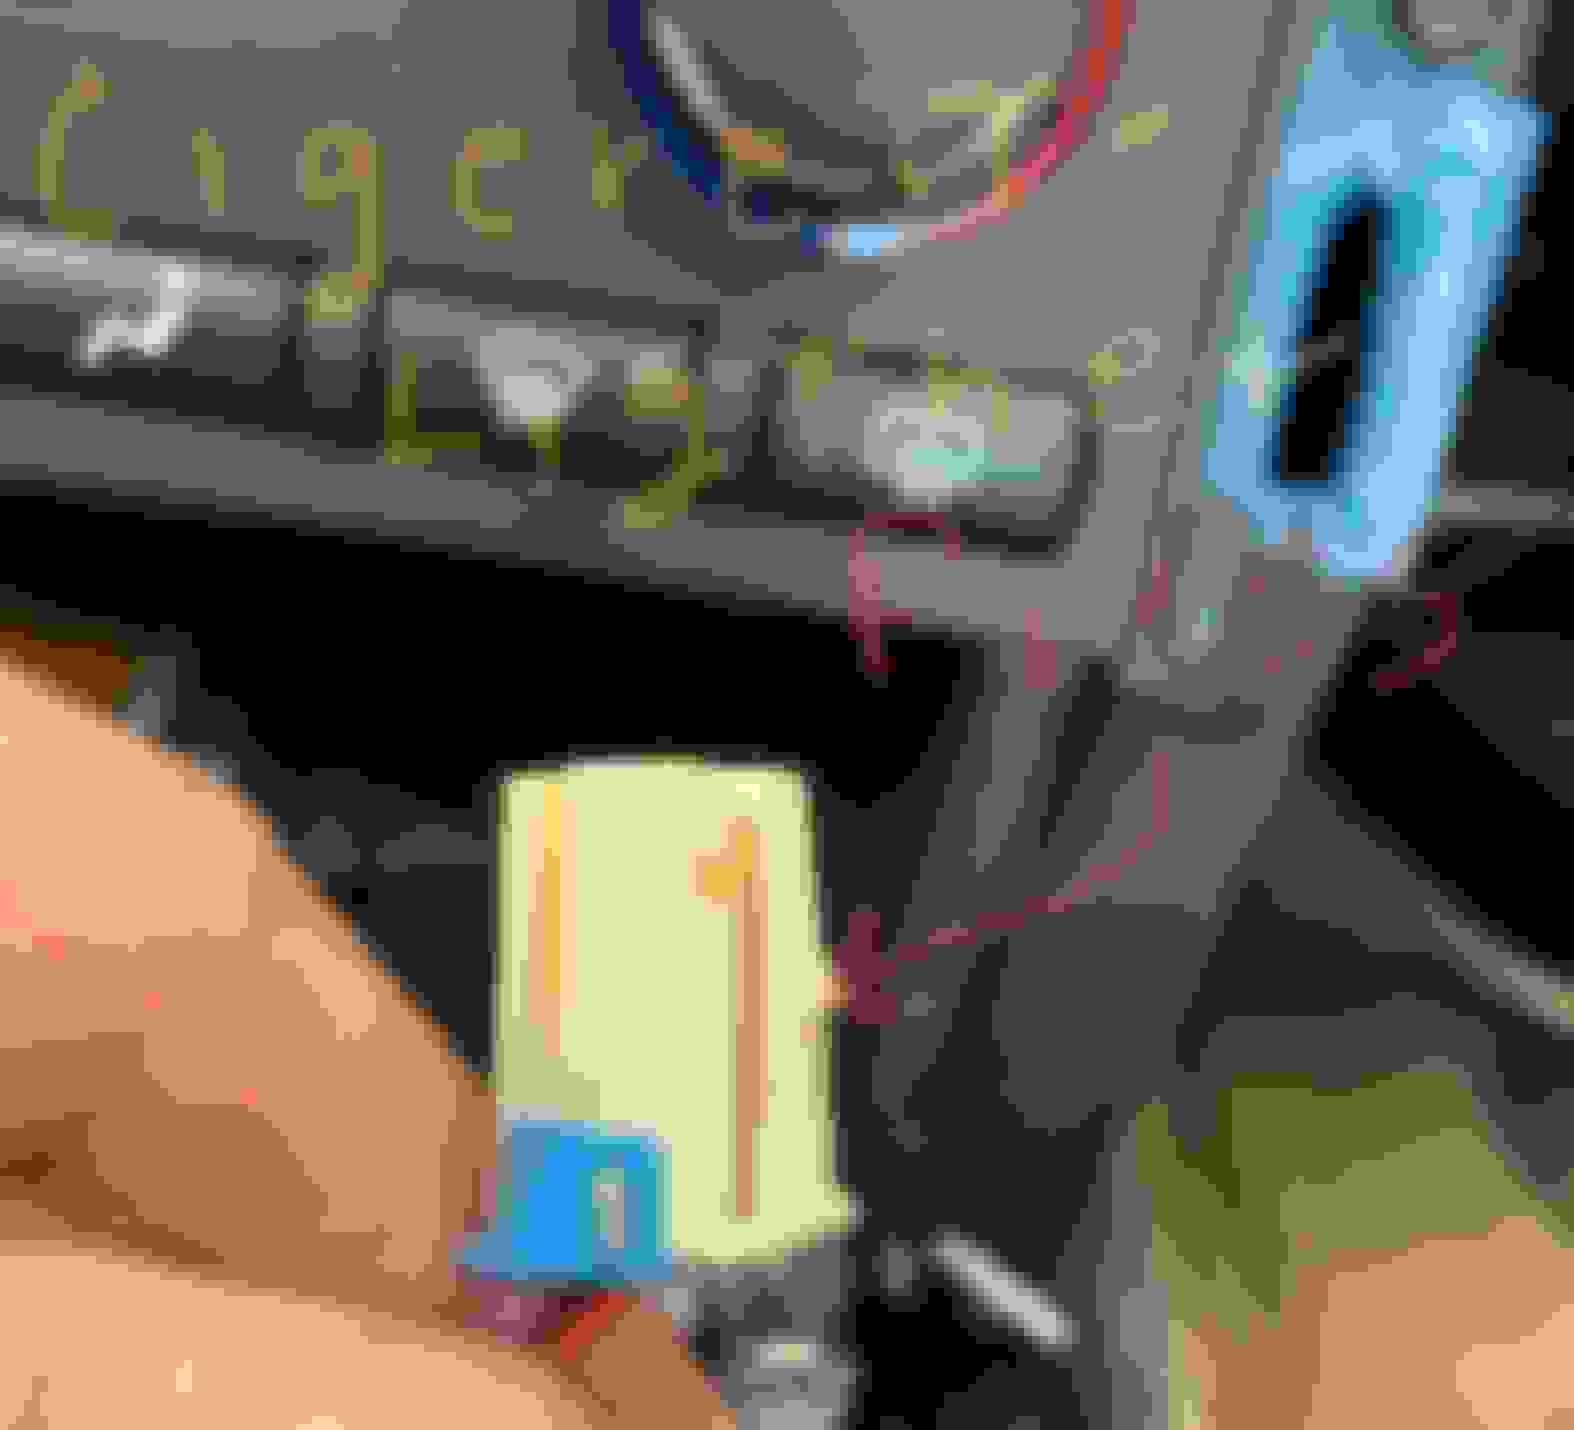
The chime is actually part of the RP5-GM11 and not the Kenwood. If you had the stock navigation system and GPS antenna, you can reuse the stock GPS antenna, as it uses the same type of connecter as the Kenwood does, and plugs right into it, this'll save you from having to mount the GPS antenna that came with the Kenwood. And here's a link to the Audio/Electronics section of this forum. https://www.corvetteforum.com/forums...lectronics-20/
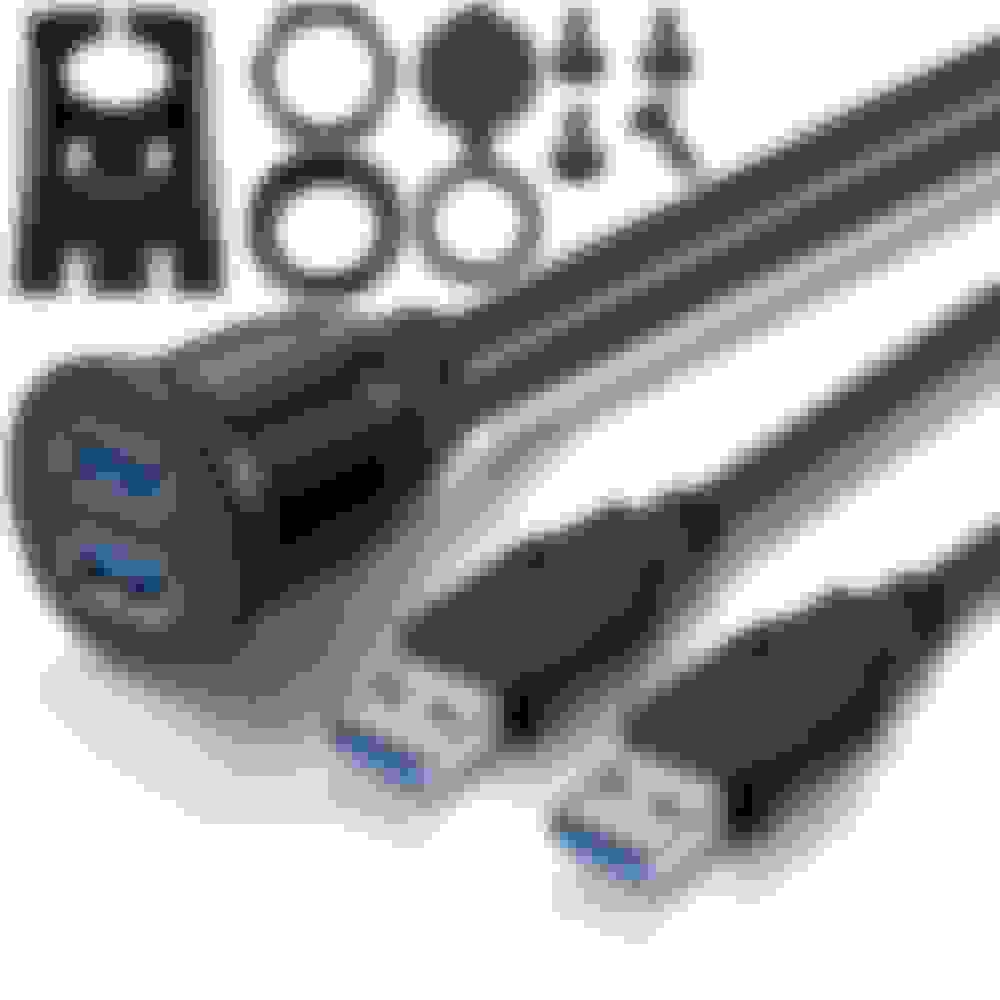
There are two USB cables that for me, ended up in the glove box.
When I installed my DMX907S, I replaced the cigarette lighter with one of the below. The DMX907S has two USB ports and two cables - one specifically for Apple, the other for Android.
The chime is actually part of the RP5-GM11 and not the Kenwood. If you had the stock navigation system and GPS antenna, you can reuse the stock GPS antenna, as it uses the same type of connecter as the Kenwood does, and plugs right into it, this'll save you from having to mount the GPS antenna that came with the Kenwood. And here's a link to the Audio/Electronics section of this forum. https://www.corvetteforum.com/forums...lectronics-20/
Absolutely right about the chime being part of the GM11. I wish I knew about the GPS antenna being the same connection to the Kenwood. That’s another detail I never saw on install videos, or the connection instructions from Crutchfield. Thanks for you input.
The hammer didn’t come out this time. I was prepared for a battle and took it pretty slow. Spent 3.5 hours on the install. Still have to mount the mic, and GPS.
for gps and mic i mounted them right at the rear view mirror.....
you can pull the a pillar cover no problem, and i just used my fingers to stuff the two wires into the headliner.....
if you want to go so far, grab a torx and remove the panel under the steering wheel.... and you can just pop out the gauge cluster surround with a trim tool (screwidriver wrapped with tape)....
the first time doing it sucks, but its super easy once you get the hang of where the trim pieces pop in....
glad to see people giving back to the community!!!
Thanks for the suggestion on the mic and GPS. I was going to run the mic cable up to the mirror. Now I’ll run both of them up there. I want the GPS to get a good signal.
running the lines for my gauges under the dash....
I've been in that same position more than once! I should have had my daughter take a picture of it! I was very happy to have a vert to have more head (leg) room while doing it! I'm 6'2" and needed the space.

 07-27-2021, 07:04 PM