When you click on links to various merchants on this site and make a purchase, this can result in this site earning a commission. Affiliate programs and affiliations include, but are not limited to, the eBay Partner Network.
I finished buffing out the paint and installed Matte Black fender stripes. I used 3M1080 film and the finish line knifeless cutting tape. The factory silver stripes didn't go with the blacked out look and GM only has 4 colors. Best part is no matter how much you sand and buff, the image is still visible when removed so with a little patience you can get the measurements and factory location. No one could see the lines but i have been doing this for a while and could just make them out.
Today I completed a project and noticed a problem that I was able to correct before it caused me a lot of grief and expense so I wanted to post this as a heads up to any of my fellow C6 owners. I replaced my high beam bulbs with PIAA bulbs that are a bit whiter in the color spectrum and slightly brighter than the OEM bulbs that are very yellow. Switching from the HID low beam to the Halogen high beams redefines the term candle power. The first time I used high beam I thought seriously?? Anyway what I found was that the rubber boots that seal the lamp housing of the headlight assembly were both missing having fallen off and were down inside the fender liner allowing dirt and moisture to enter the housing. I was curious since I noticed signs of dust inside the headlight assemblies and on the inside of the lenses. The illustration is of the back side of the passenger side assembly and the boot on the far left is for the high beam bulb.
They look great I was thinking about putting on a set. How long did it take and how difficult were they to install. Thanks Jeff
My 2 cents, even though I'm not the poster:
They look like the GM ones, which is what I have. They are top quality and around $100 for the set. I bought mine from Cultrag, a forum vendor here.
Fronts: You can install (drill holes in fender wells) by turning the wheels.
Rears: You have to remove the wheels, unless you know somebody that has a real short right-angle drill. I believe it is about 3" from the wheel OD to the fender well.
I did it the hard way, and found out later that my body shop buddy had a right-angle drill that would have worked with the wheels on.
I think I had to make the holes larger than what the directions called for in order to get the pins in.
The one's I saw on eBay said they were a GM part # 19170234 I can pull the wheels no problem as I do it once a week anyway to clean the wheels and wells. $105.49 free shipping. not too bad I guess Thanks for the info. I've read some of your post's before and have been very helpful
Today I completed a project and noticed a problem that I was able to correct before it caused me a lot of grief and expense so I wanted to post this as a heads up to any of my fellow C6 owners. I replaced my high beam bulbs with PIAA bulbs that are a bit whiter in the color spectrum and slightly brighter than the OEM bulbs that are very yellow. Switching from the HID low beam to the Halogen high beams redefines the term candle power. The first time I used high beam I thought seriously?? Anyway what I found was that the rubber boots that seal the lamp housing of the headlight assembly were both missing having fallen off and were down inside the fender liner allowing dirt and moisture to enter the housing. I was curious since I noticed signs of dust inside the headlight assemblies and on the inside of the lenses. The illustration is of the back side of the passenger side assembly and the boot on the far left is for the high beam bulb.
They look great I was thinking about putting on a set. How long did it take and how difficult were they to install. Thanks Jeff
Thanks! They are the GM ones. The fronts don't require any drilling. Just remove the plastic clips and mount with the clips provided and tape. Took like 15 minutes a side. Rears are a bit more work. Remove wheel and position the rear flap and use a sharpie to trace the holes onto the black plastic splash. Then drill using a 21/64 drill bit. There's a few videos online if you search it. My only issue on the rears is that the bottom provided clips wouldn't push in all the way so I used some similar push style clips instead that were a bit thinner. I have a whole box of clips I got off ebay for like $20 so they finally came in handy but even with the top 3 clips in and the 3m tape, that thing ain't moving. I'm in Canada so they cost me like $170 ish Canadian shipped.
Last edited by jackjohnson_218; 05-05-2018 at 10:43 PM.
Some of these are from the Reno Corvette Club Thursday night and Then Friday night May 4th @ Summit racing Sparks Nevada near Reno. Can't be complete without the DUMSTER and a McLaren
Seen the DUMPSTER several times. Always draws a crowd...
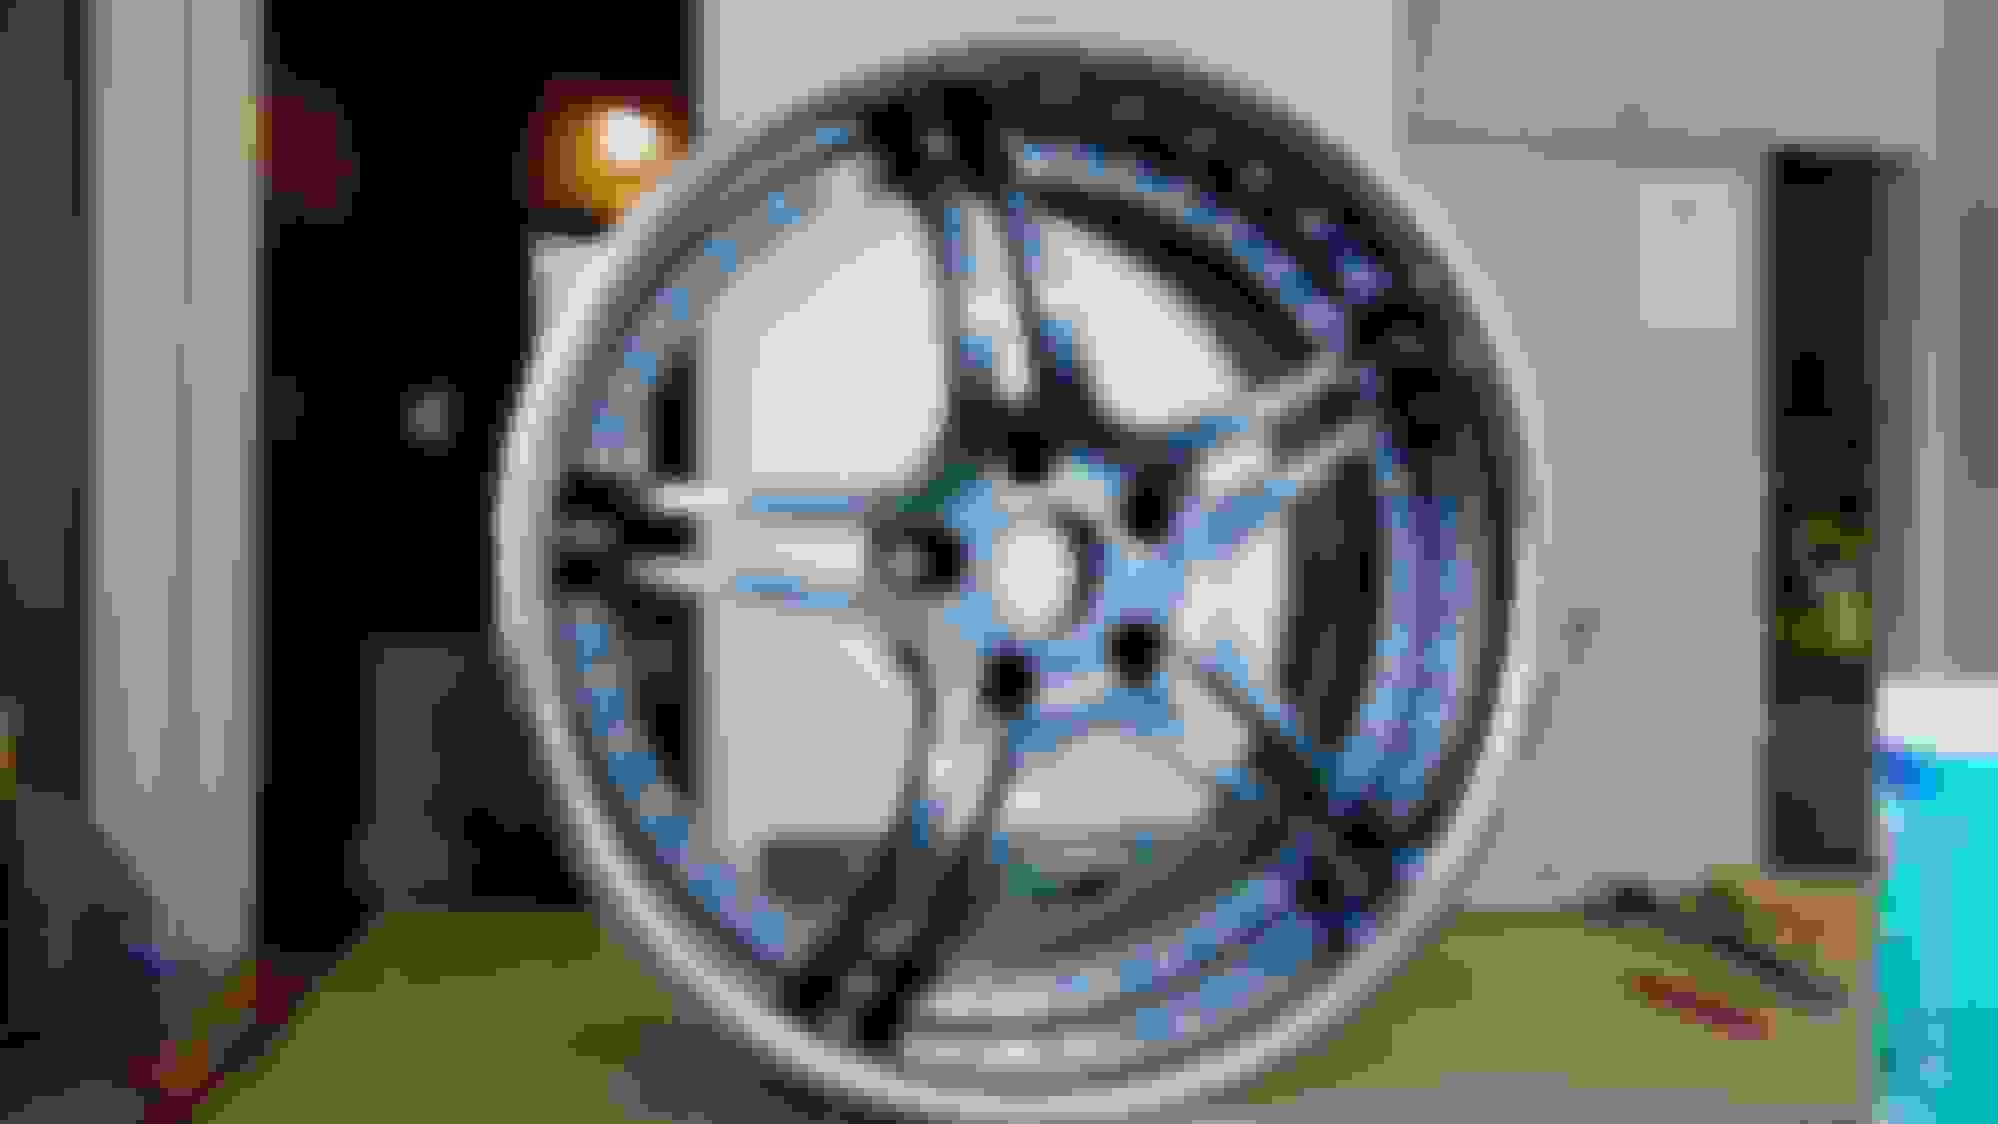
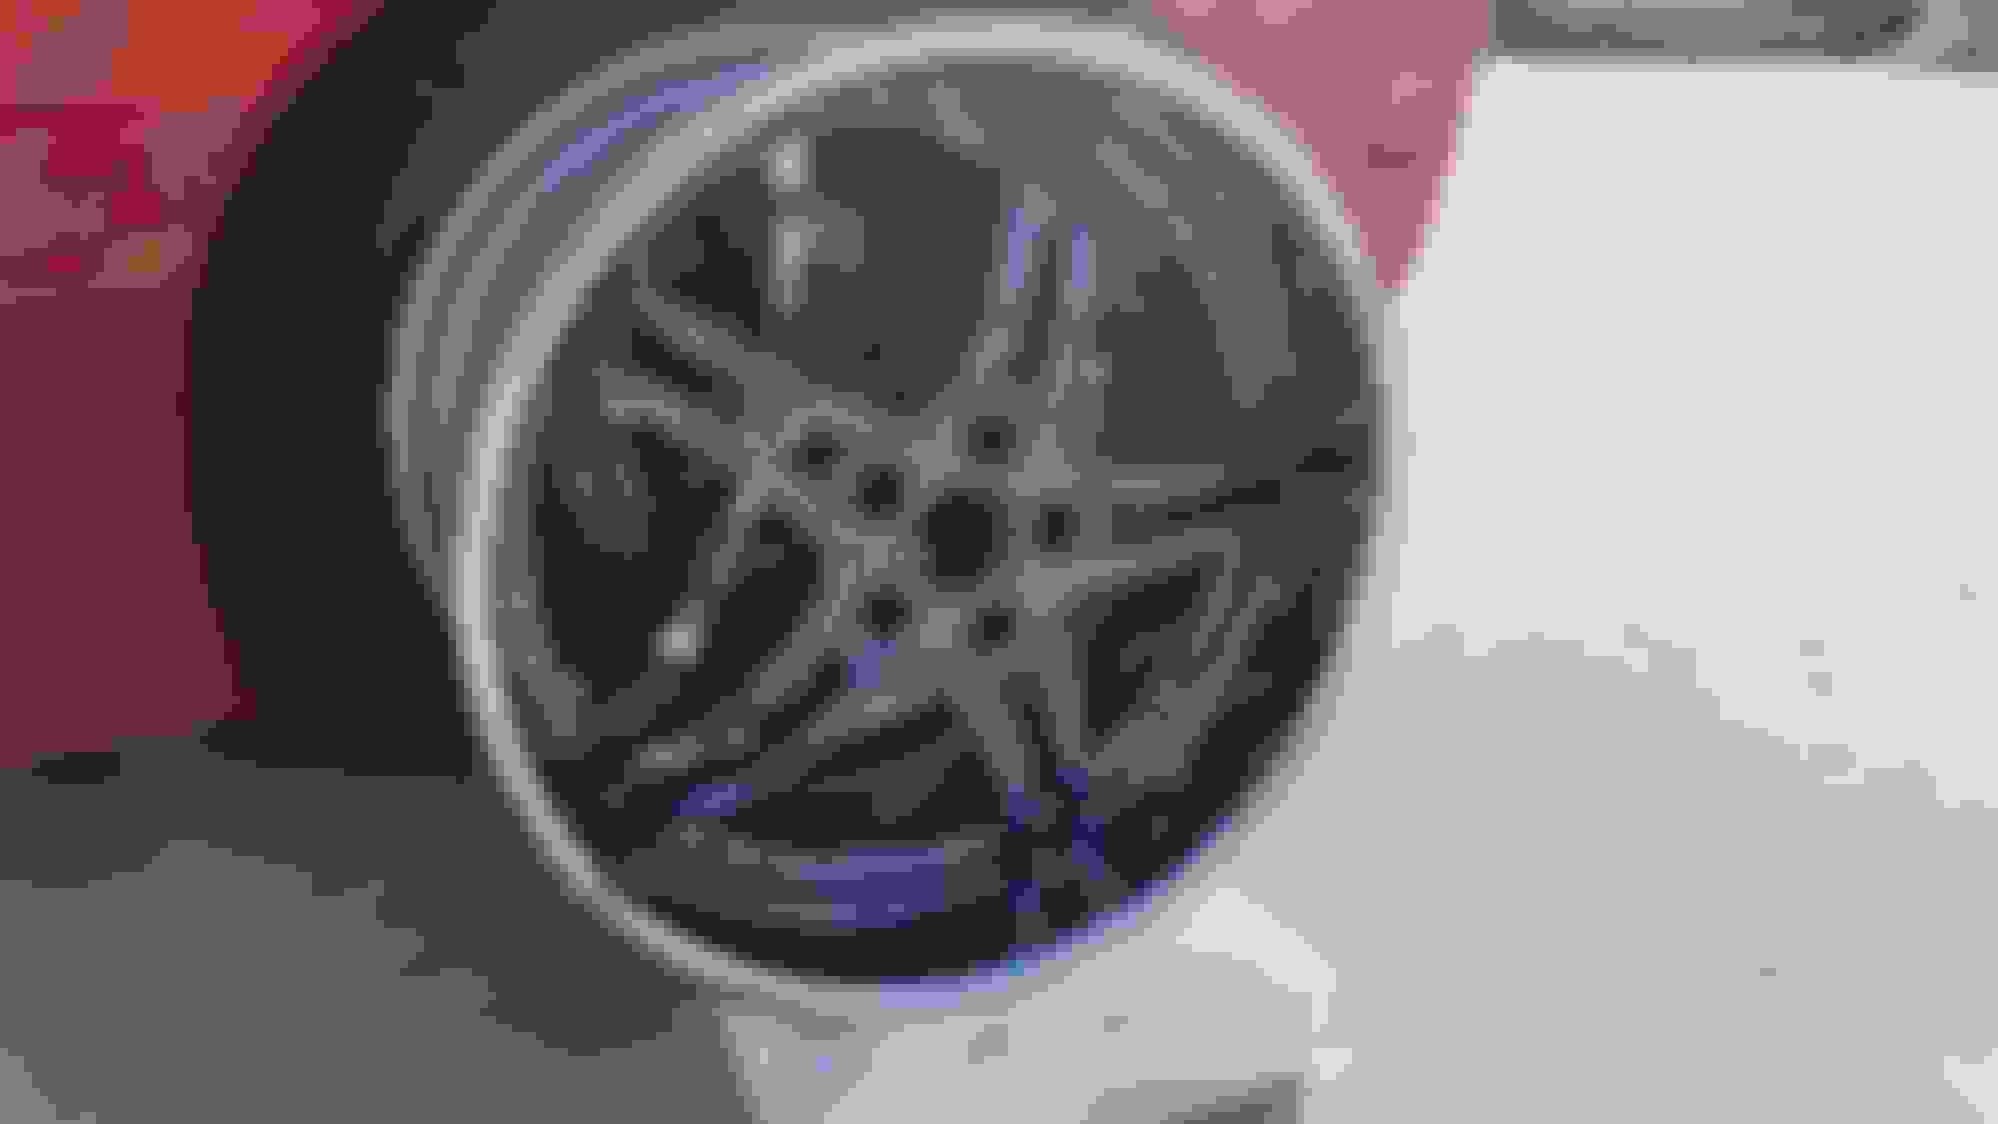
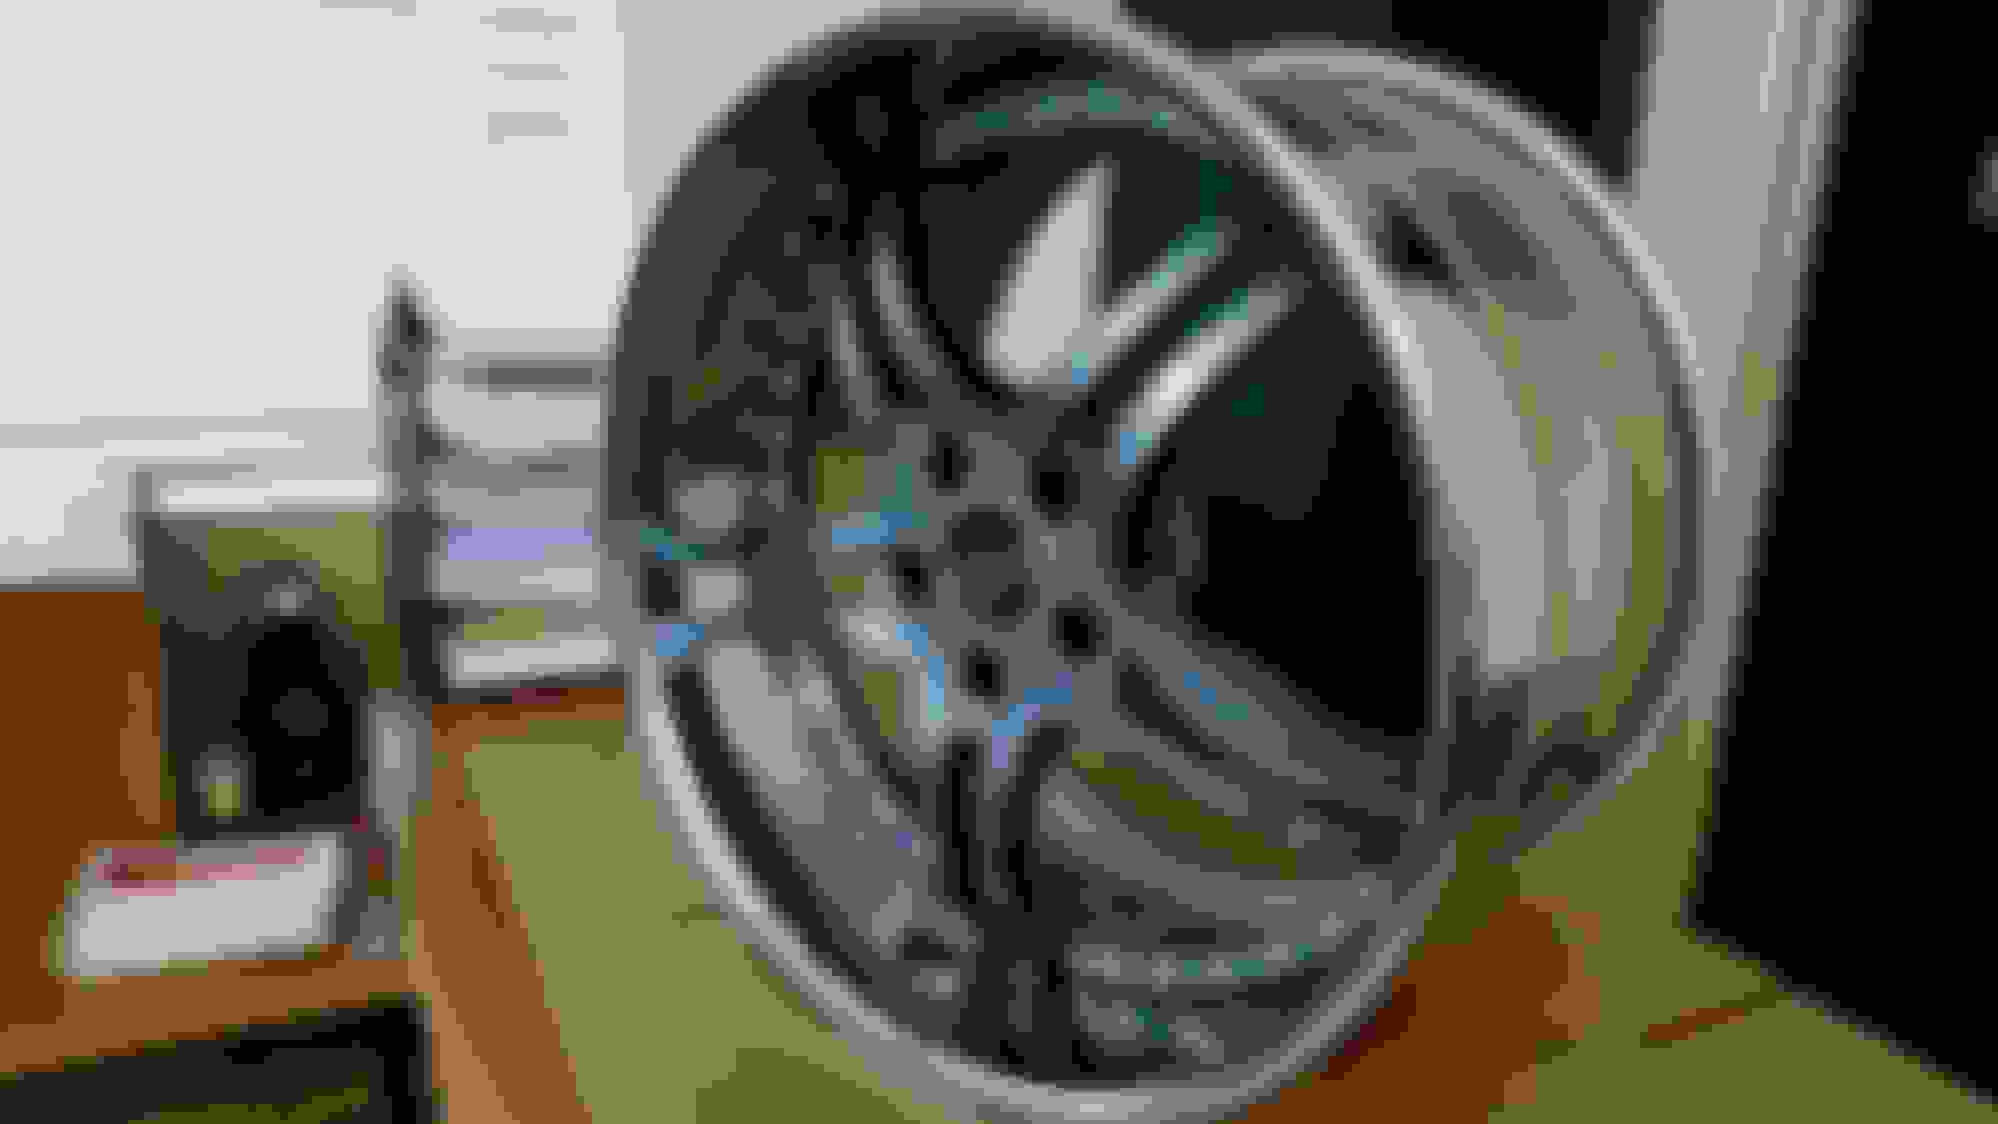
If I never have to assemble a 3pc wheel again I will thank the cosmos. Anyone have a line on domed wheel cap logos that don't cost $20 a pop? I have blank caps, just need some decals for them.
Another BEAUTIFUL weekend where we are doing our part to burn up dead dinosaurs and deplete the ozone layer! Had the top off and got an abundance of those nasty sun rays on our skin!!
We even ate charred animal flesh at a local restaurant and enjoyed the hell out of it.
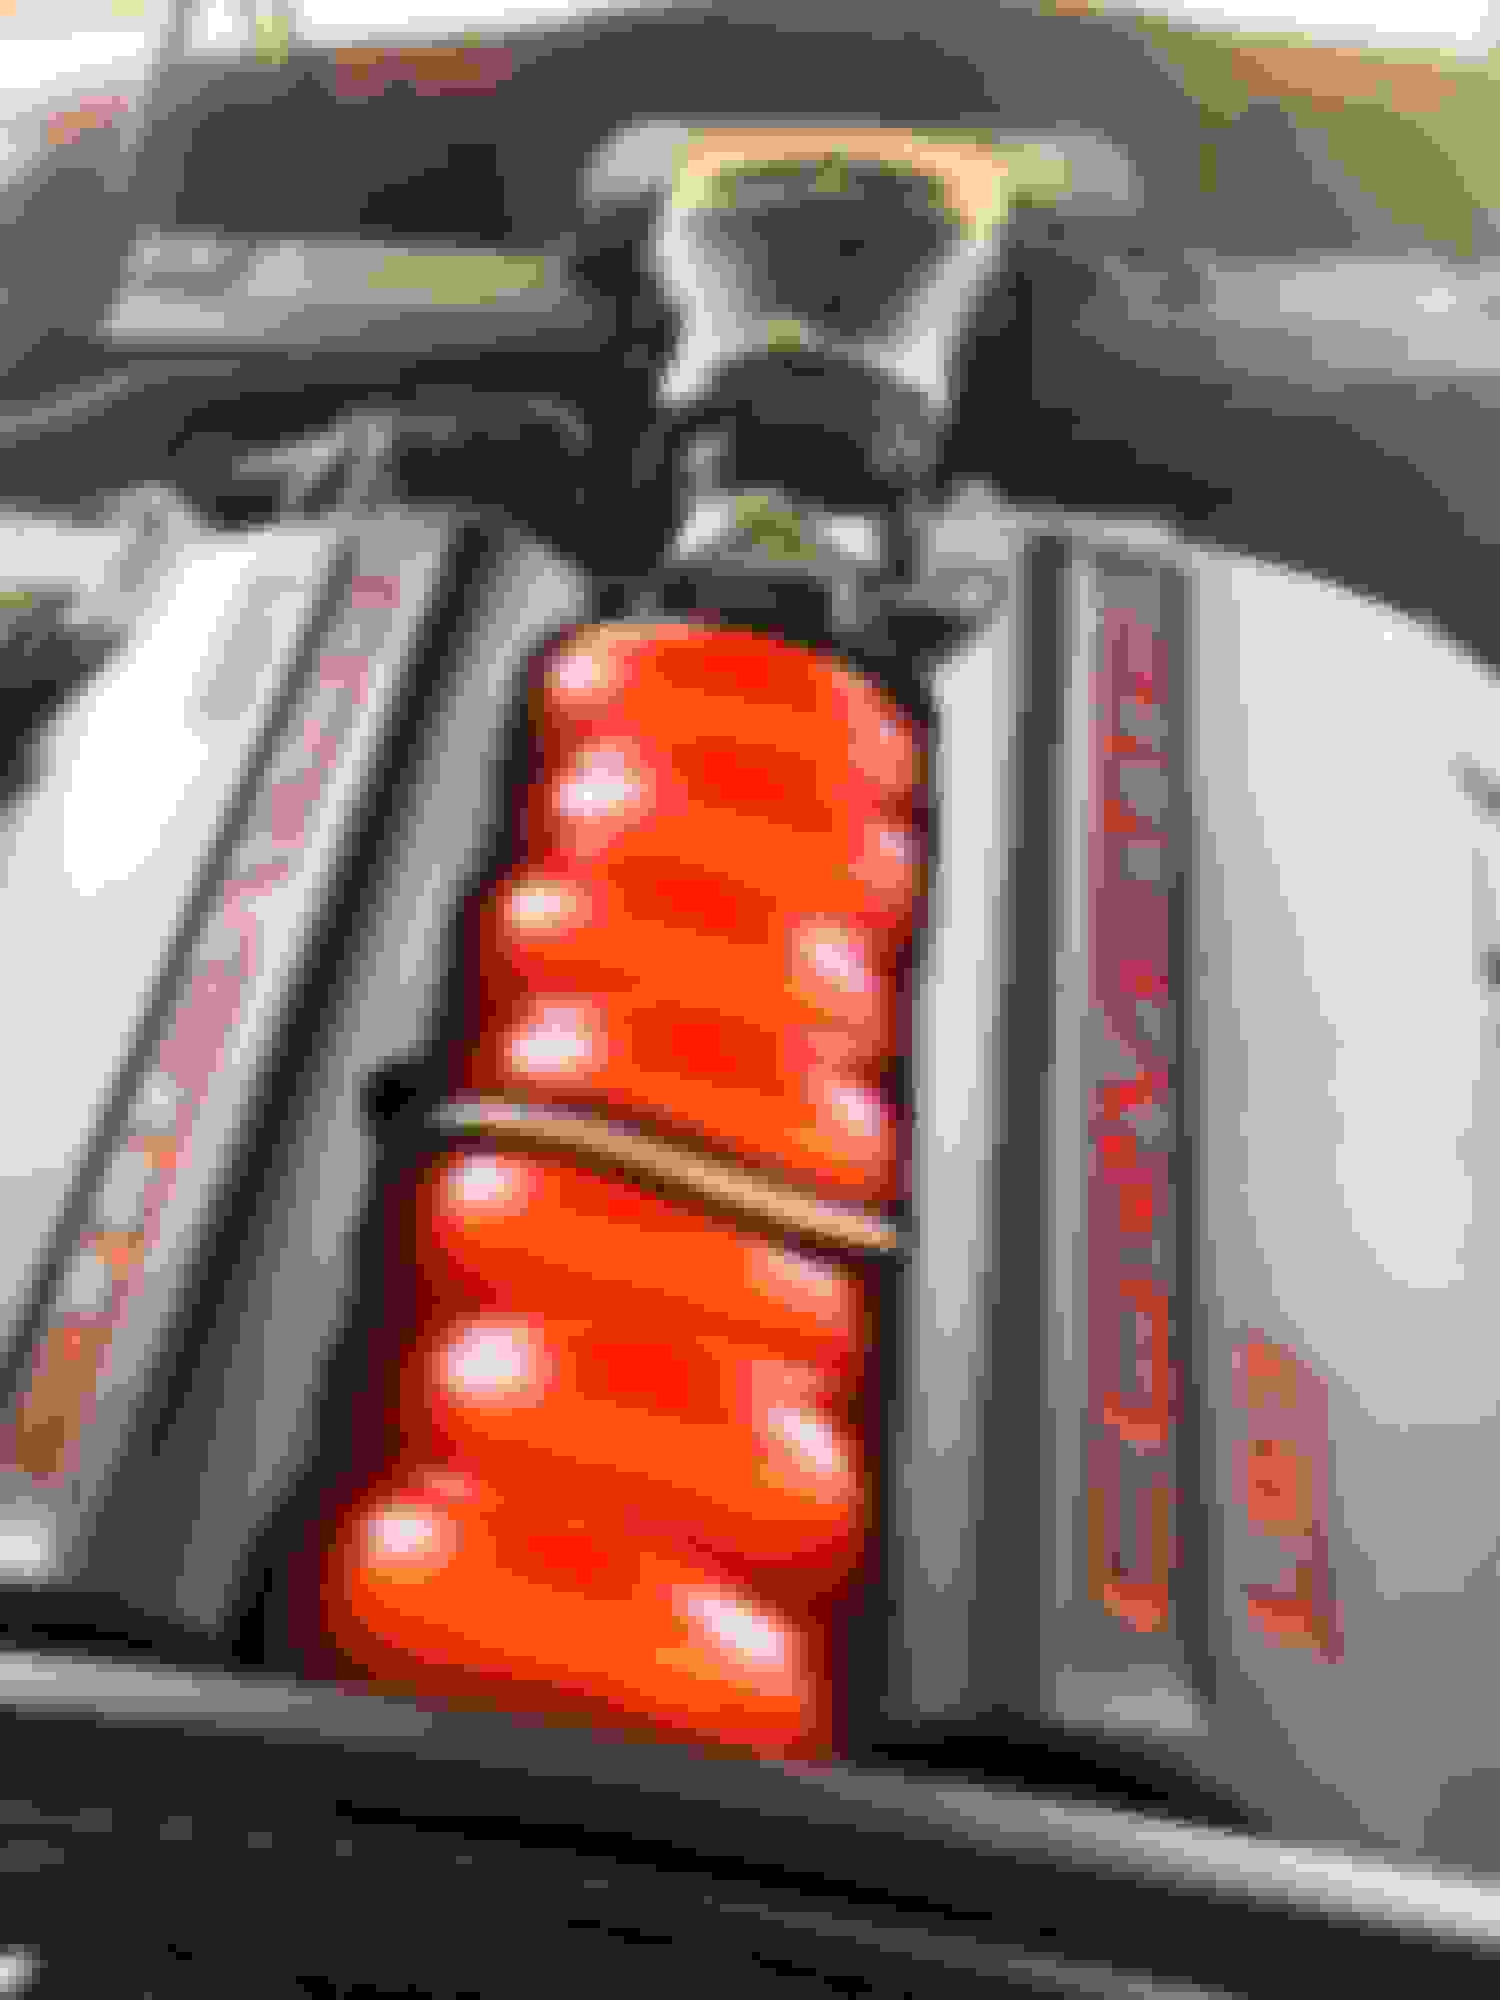
Oh yeah, I forgot I "dipped" my exhaust tips black, but sort of torn because it makes the tips look smaller Came out good but still
wondering if I'll keep it
And it didn't melt as some asked just in case your wondering
NSF
Nice - I plan to get mine powder coated gloss black at some point. I may do while I�m still waiting for my seat skins as the car isn�t being driven.
Installed LS7 air intake with a smooth �power coupler�. What should have taken about 10 min took over an hour because the coupler was cut very poorly & did not fit correctly. I had to cut quite a bit off to get it to fit. For $40 you�d think the vendor would make sure it was the right size, not like the C6 just came out yesterday.
Nice - I plan to get mine powder coated gloss black at some point. I may do while I�m still waiting for my seat skins as the car isn�t being driven.
I thought the same as you so I took the black off the inner bevels and it looks better for size.
I'm sure you could just paint them gloss black with a little prep Jab
Wrapped up a 3,000 mile week long road trip in my 2009 base A6 coupe with a 12-hour 854-mile day. I really need to wash the bugs off! Averaged 26.8 mpg while cruising mostly between 80 and 85.Shhhh! don't tell anyone. Love my Uniden R3. Car was great. Had one giant suitcase(my wife's) and one medium suitcase (mine) in the hatch. All in all, it was quite comfortable, but the seats did start to wear on us after 8 hours or so. I'm 6'3 and the most of the pressure seems to be on my mid-back. First car I've ever felt that kind of discomfort. Maybe, it's the low seating position. I drive a lot for work and pleasure, but this was a new one on me.
I have the Michelin Pilot Sports A/S tires and they are terribly sensitive to road surface as far as noise is concerned. The previous owner installed Dynamat but I'm not sure what kind of coverage, but I assume full coverage because it's all the way up in the hatch and the center console just gets mildly warm, not hot as some have described while on road trips. On some surfaces, it's as quiet as a Buick, on some, it feels like you'll go deaf if you turn the nice Kenwood stereo loud enough to hear. I also noticed some funky flapping/farrting wind noise above 80 with a 45 degree side wind. Sounds like air is getting past some weather stripping somewhere at the top of the windscreen/targa top area. I'll have to look that over.
Anyway, really was fun to get to know the car better as I just purchased it in December and the snow has finally gone from the north country. Going to have to look into some sort of seat fix...new foam, or whatever...time for research on the forum.


 05-05-2018, 05:52 PM


 Came out good but still