C5 C6 Corvette: How to Install a Bluetooth Kit
Having features that make your driving experience better are always a plus. Read on for information on how to upgrade your car's entertainment system.
This article applies to the C5 Corvette (1997-2004) and C6 Corvette (2005-2013).
Several entertainment upgrades for your Corvette are always available—one being your radio's enhanced Bluetooth connectivity with hands-free calling. With some general knowledge of electrical components and clever wire routing, you too can enjoy the benefits of installing an upgraded Bluetooth kit.

Materials Needed
- iSimple (ISGM655)
- 1/4" drill bit
- Adjustable wrench
- 10mm and 7mm socket
- 3/8" and 1/4" ratchet
- Phillips and flat head screwdriver
- Allen wrench set
- 3M industrial strength tape
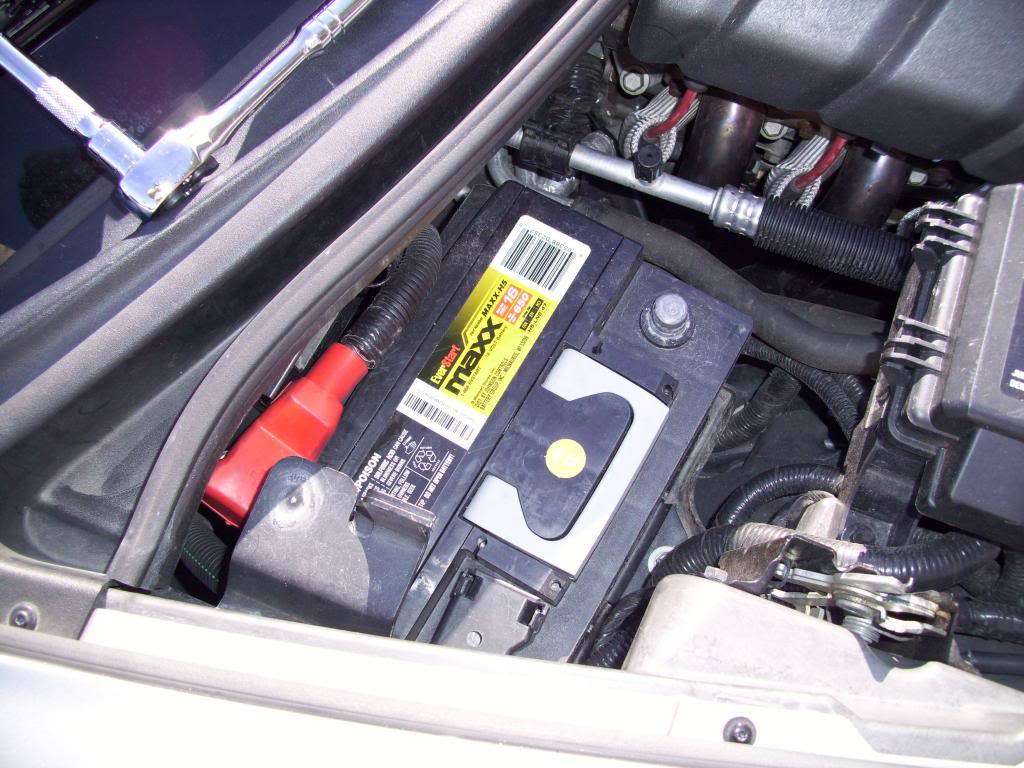
Step 1 – Disconnect the battery
Set the radio to FM and disconnect the battery's negative (black) terminal.
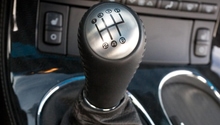
Step 2 – Loosen the center console
To gain clearance for installation, some components must be loosened and disconnected.
Open the center console and remove four screws on the hinge with your Phillips screwdriver. Inside of the console nearest to the gear shifter, remove the two 7mm bolts behind their plastic covers. Lift the console slightly up and remove the additional two bolts exposed to the passenger side seat.
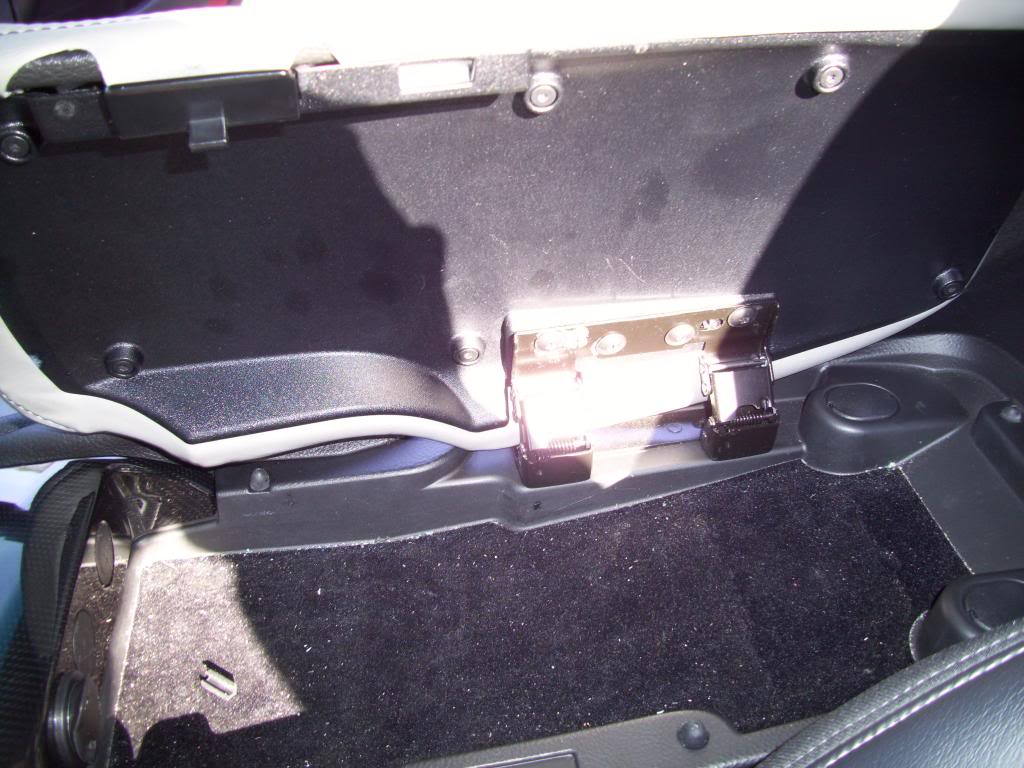
Figure 2. Open console with the exposed hinge. 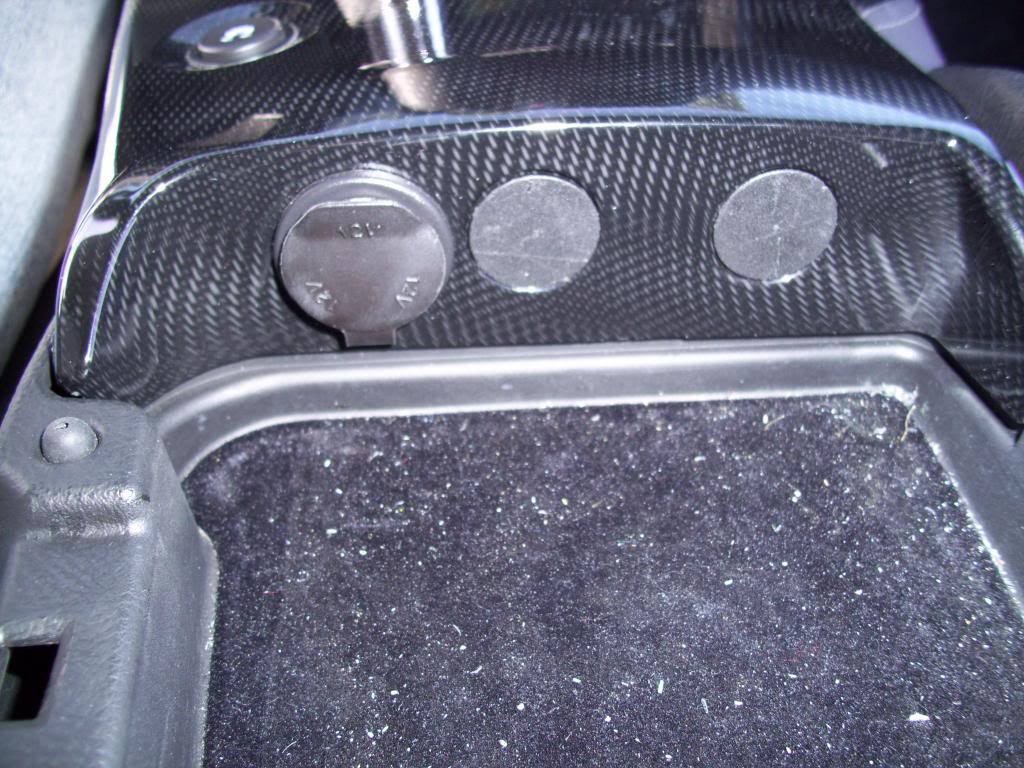
Figure 3. Plastic covers inside the center console. 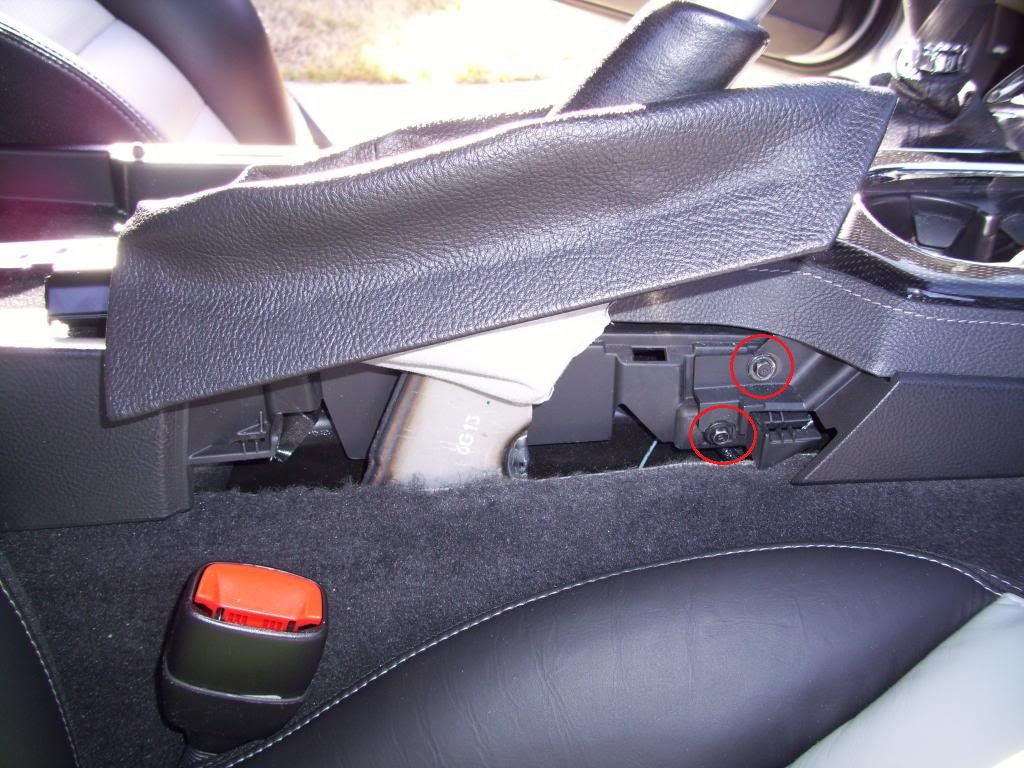
Figure 4. Bolts underneath the center console.
Pro Tip
If you need more room, the shift boot can also be removed. To do so, unplug the hazard switch, cigarette lighter, heater switches, and the auxiliary power transmission.
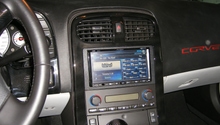
Step 3 – Remove the A/C controls and radio
Remove four 7mm screws securing the A/C controls and pull it straight out. Next, remove the four 7mm screws securing the radio and pull it straight out as well.
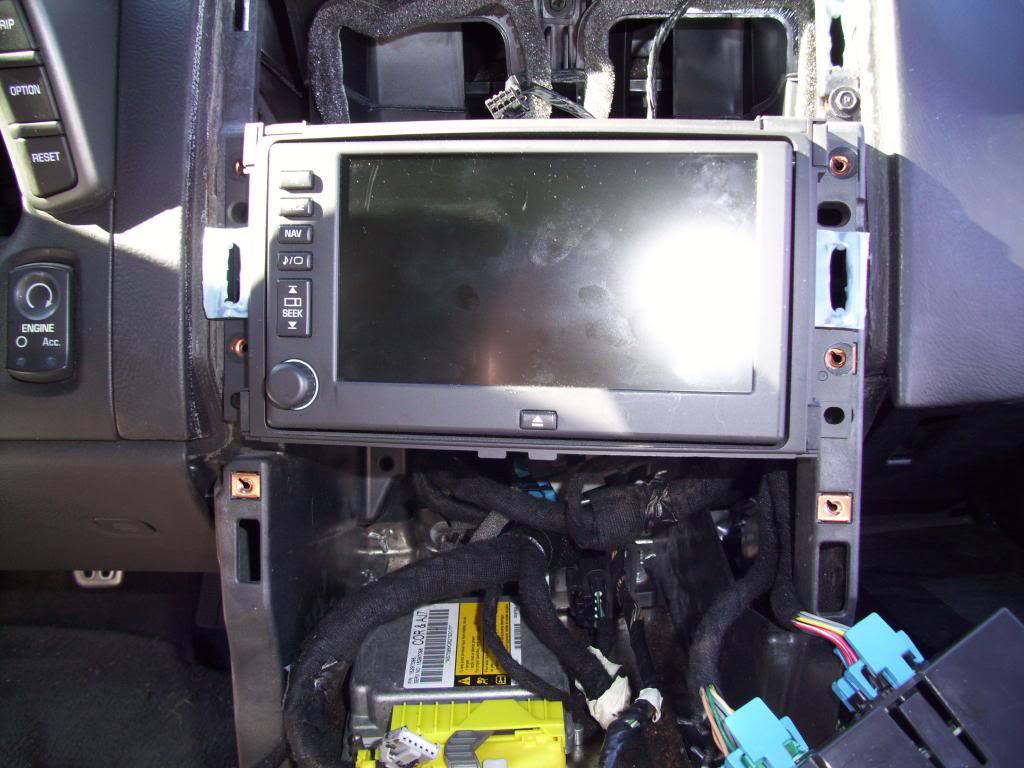
Figure 5. Exposed wiring behind the head unit. 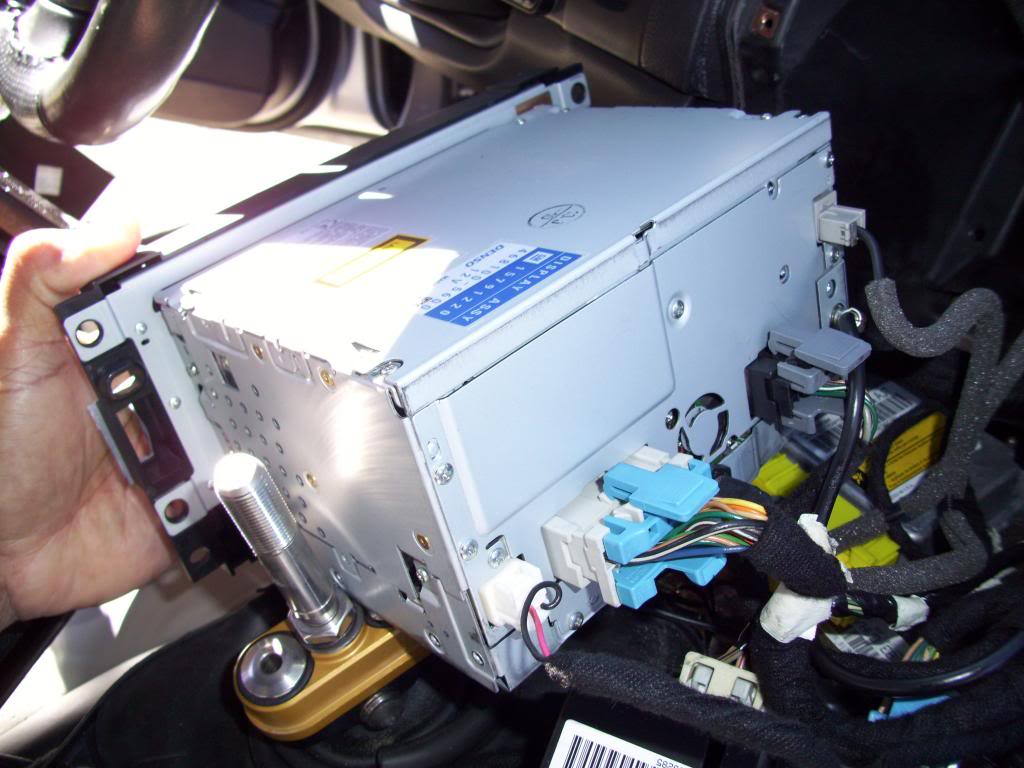
Figure 6. Wiring behind the radio.
Step 4 – Connect the new harness
Unplug the two large black and blue plugs to connect the new harness from the Bluetooth kit.
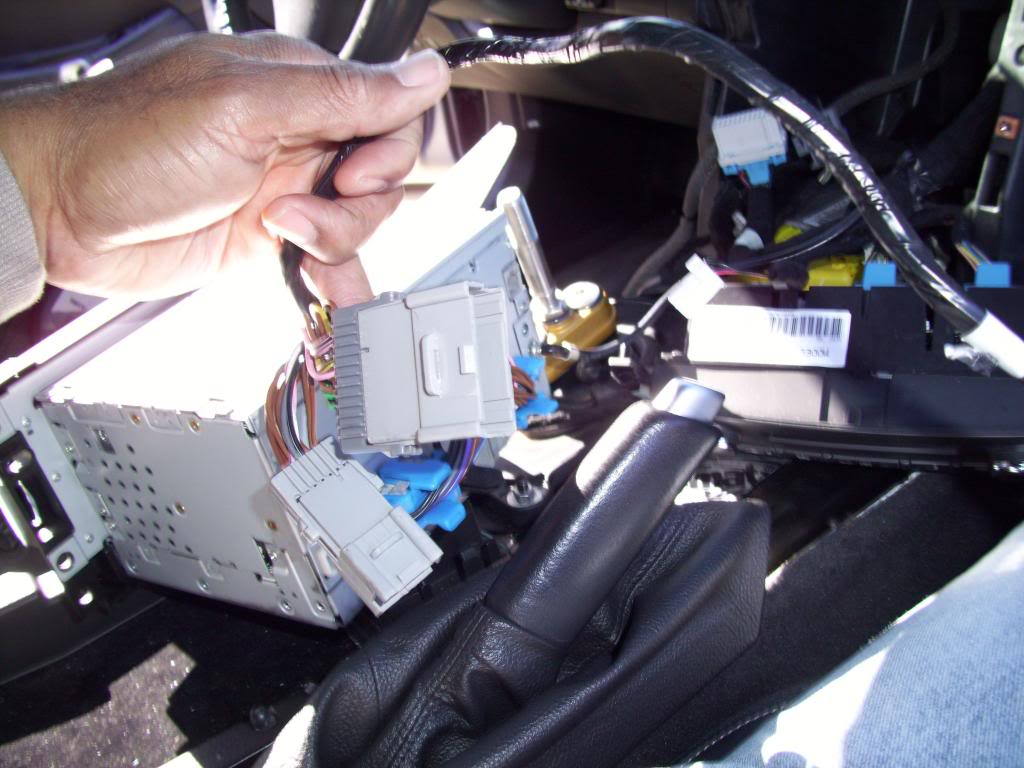
Figure 7. Unplugged harness. 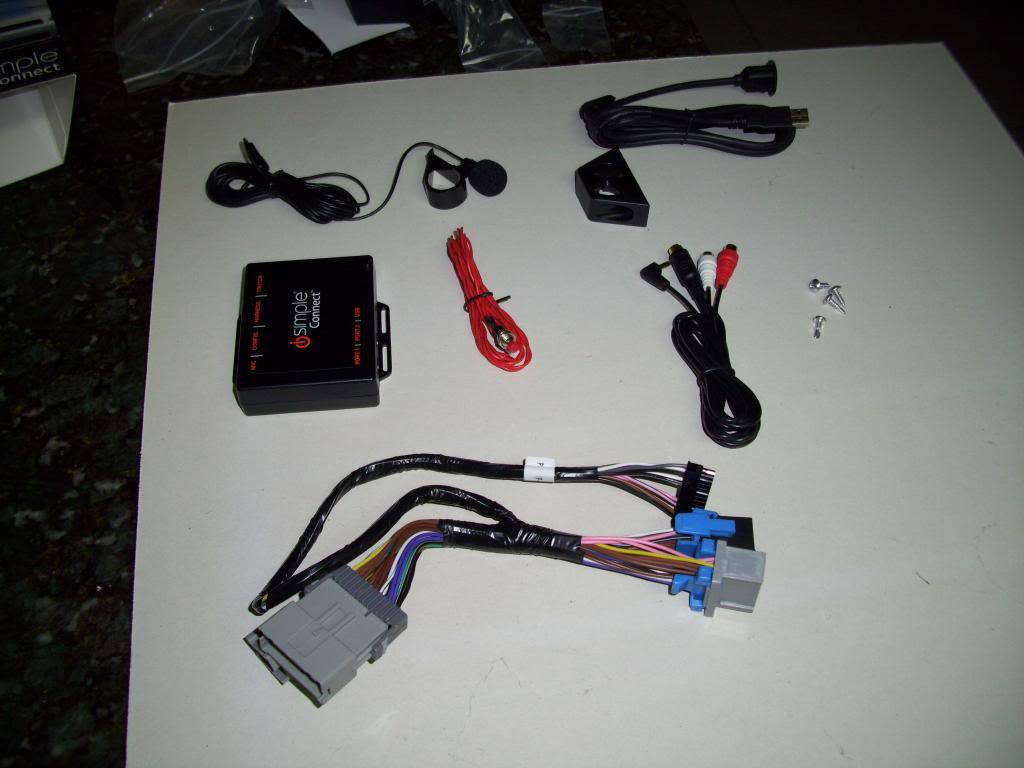
Figure 8. Components of the Bluetooth kit.
Step 5 – Mount the gateway media interface
Affix a piece of 3M tape to the back of the gateway media interface. Mount it to the firewall behind the radio. Then, connect the USB cord and all the additional wires.
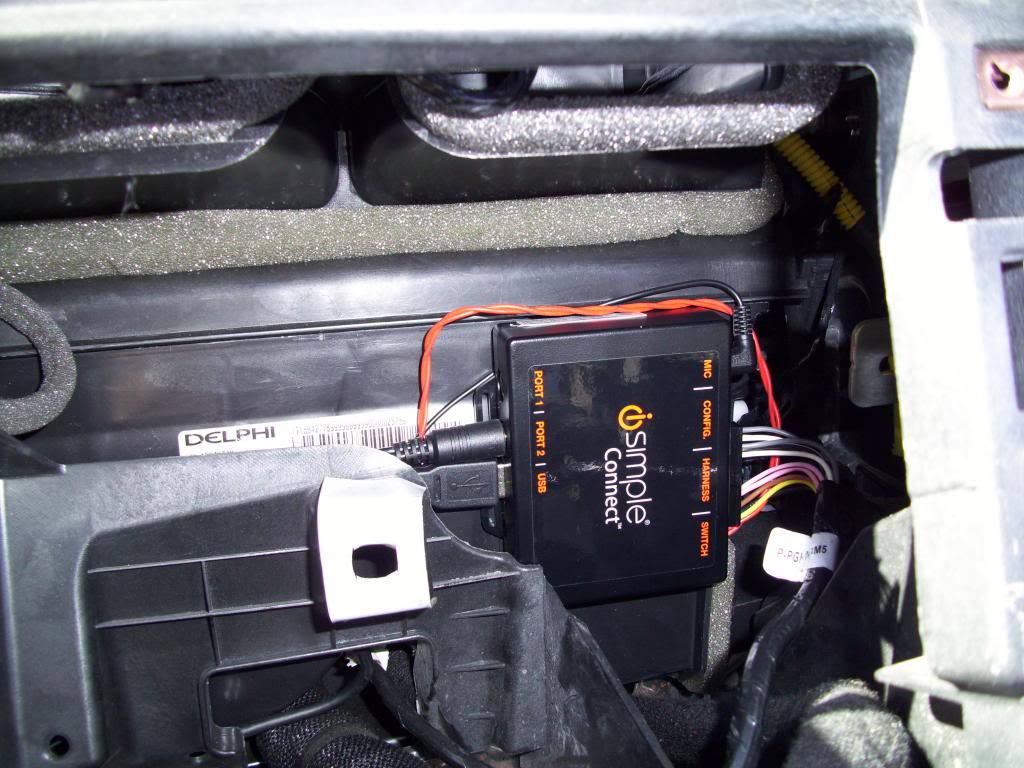
Figure 9. Mounted gateway media interface. 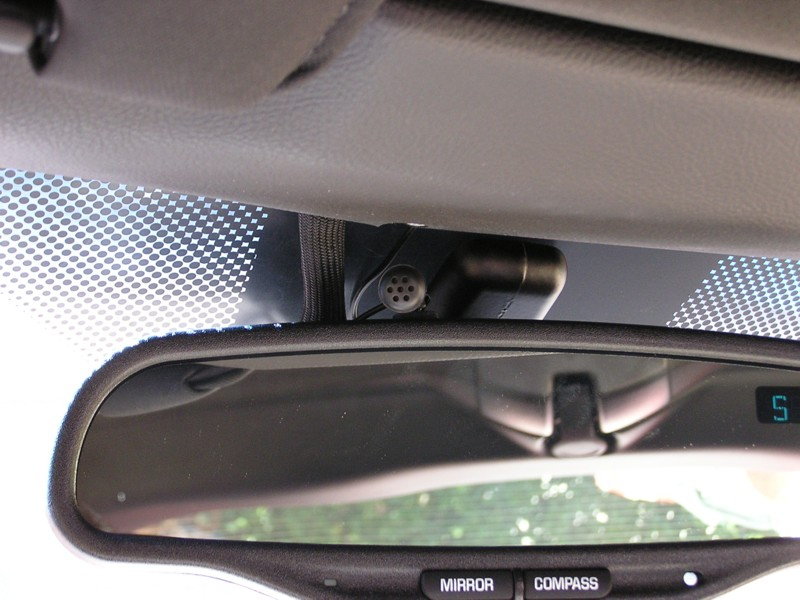
Figure 10. Mic mounted to the rear view mirror.
Pro Tip
Several users mount the mic to the interior A-pillar and others mount it behind the rear view mirror. Also, the USB port can be swapped with the cigarette lighter in the front console, which will allow easier access to charge your phone.
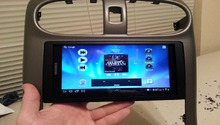
Step 6 – Test radio
Loosely mount the A/C controls and radio, but do not screw the bolts back in. Reconnect the battery. The radio should start in FM mode. Next, press the XM button on the touch screen, turn on the Bluetooth from your phone and pair it to the unit. Test the Bluetooth connectivity by making a phone call or listening to music.
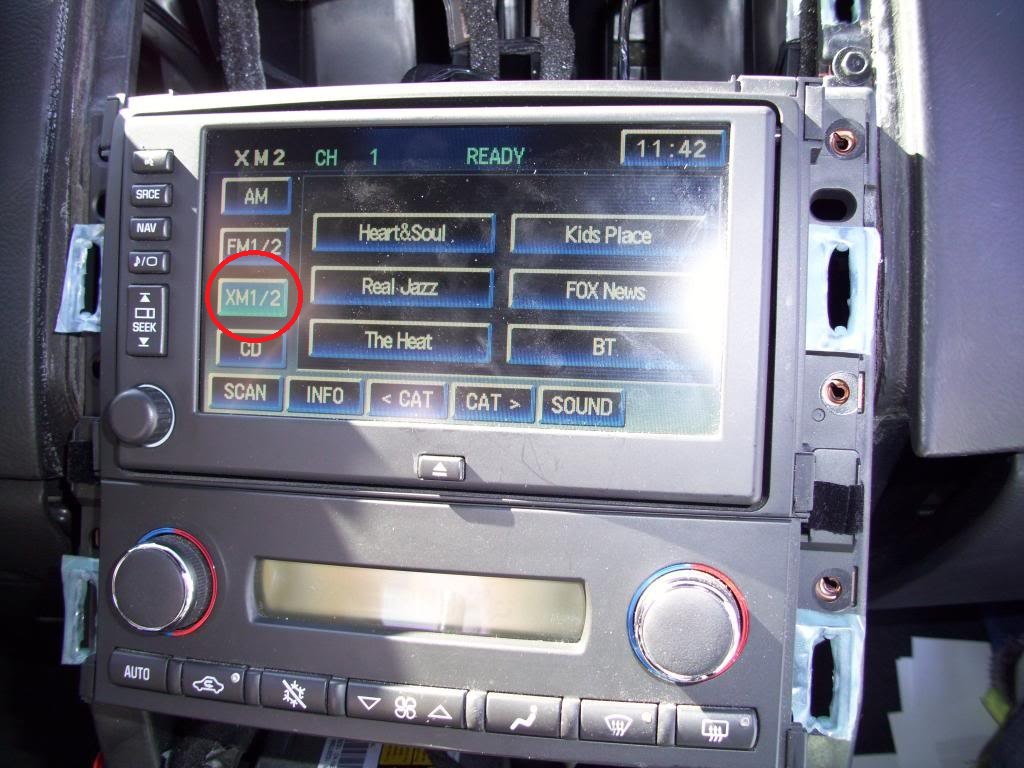
Figure 11. Accessing Bluetooth on the unit. 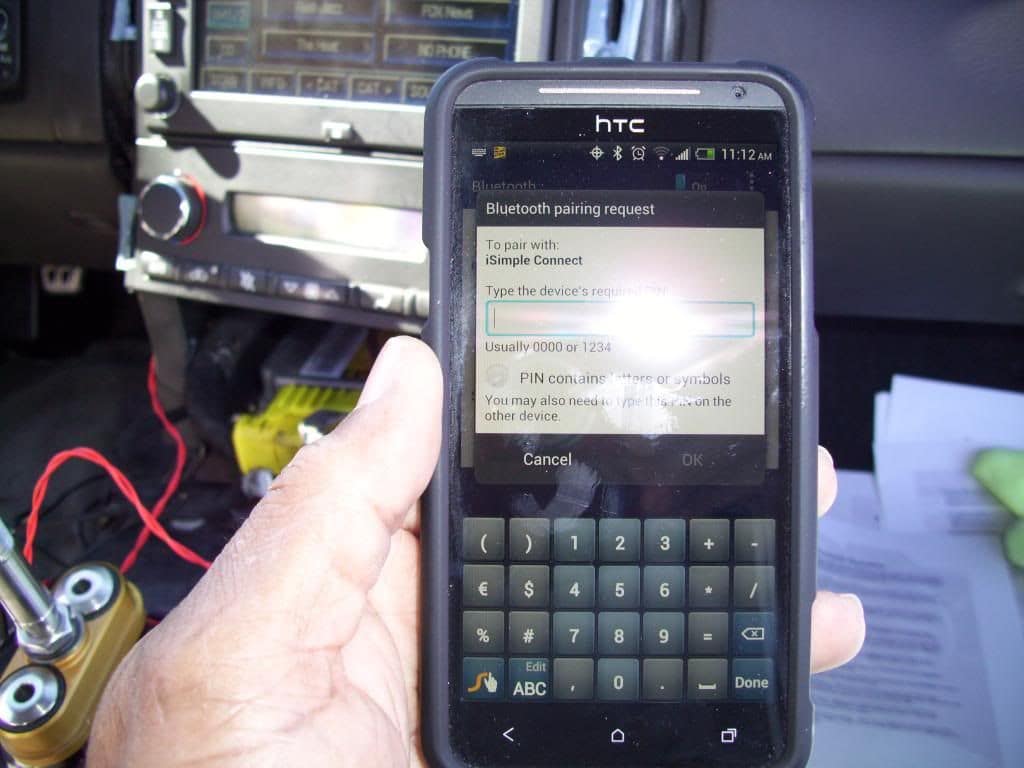
Figure 12. Testing the Bluetooth connectivity.
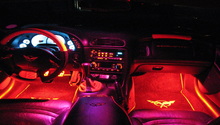
Step 7 – Install the reset switch and secure the components
Drill a hole anywhere discreet and accessible to mount the reset switch. Secure the radio, head unit, and center console back into place.
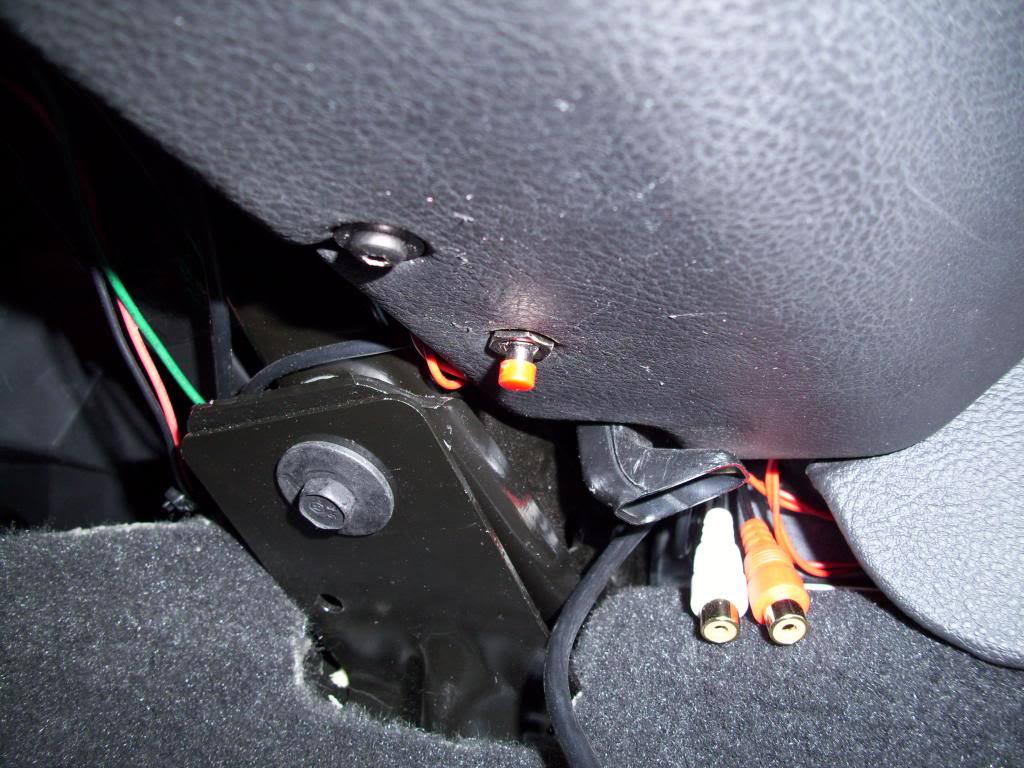
Figure 13. Installed reset switch. 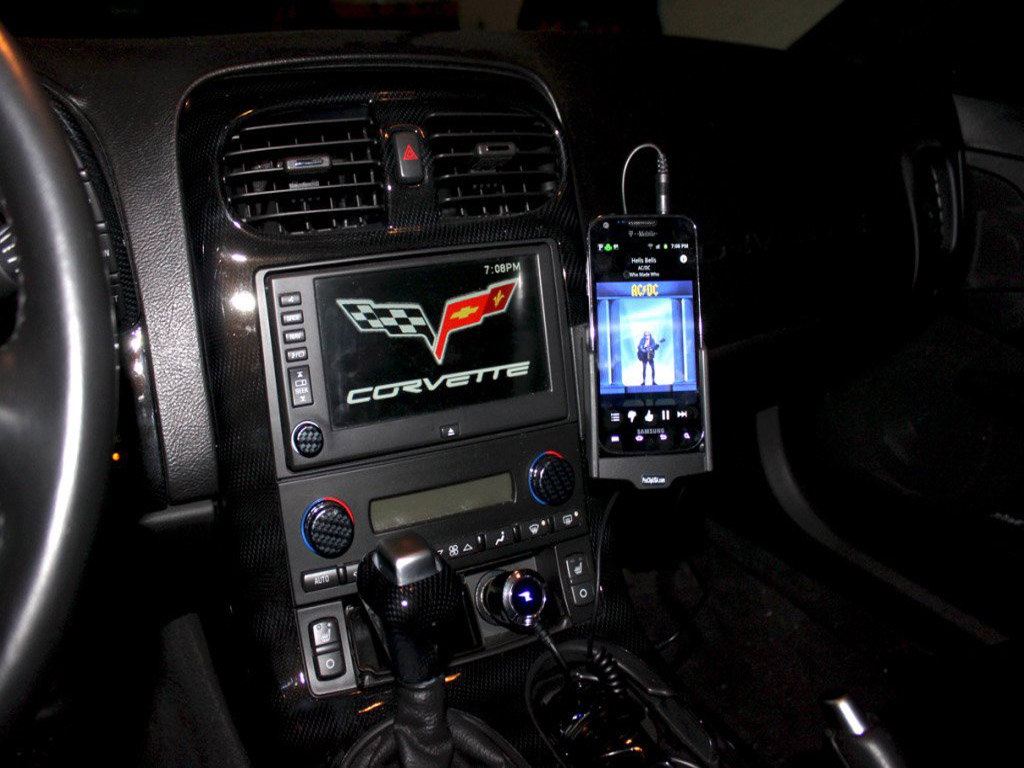
Figure 14. Newly installed Bluetooth kit.
Related Discussions
- Bluetooth Kit for 2005-2013 Corvette - CorvetteForum.com
- Technical Docs - Pac-Audio.com