C5 C6 Corvette: Why is My Clutch Glazed?
Improper driving techniques will drastically shorten the life of your clutch. But with some inexpensive maintenance and a little bit of time, along with proper driving techniques, your clutch can live a long and happy life as intended.
This article applies to the C5 (1997-2004) and C6 Corvette (2005-2013).
Like brake pads, the life of a clutch, by its very nature (friction material), is shortened with use. Friction is created when there is relative motion at contact between the pressure plate and the flywheel surface. Being designed to create friction in order to function, the clutch will naturally be worn down. Yet, some common symptoms of excessive clutch wear include hard/soft pedal, slow or lazy pedal return, pedal hang up mid-travel, pedal sticking to the floor, and no "grab" with high RPM.
Along with inherent wear over time, frequent slipping and clutch dumping can contribute to these issues. Slipping (or feathering) the clutch keeps your clutch partially engaged (as opposed to completely engaged where there is contact, with no relative motion/friction between the surfaces) over an extended, often unnecessary, period of time. Dumping (or popping) the clutch, although usually only occurring when drag racing, refers to high rpm up-shifts or down-shifts, often done with a “slam” down and a “pop” up of the clutch pedal.
At the very least, these driving techniques will introduce excessive dust in the system and eventually damage your seals. At worst, with aggressive driving, you can “glaze” your clutch. Yet, unless you have already damaged your clutch to the point of replacement, all hope is not lost, as there are some things that you can do to extend its life.

Materials Needed
- Clutch (brake) fluid: DOT 3 or DOT 4
- Syringe or turkey baster
- Clean, lint-free shop towels
- Small funnel
- Container for fluid disposal
- Ziplock storage bags
The clutch hydraulic system consists of a master cylinder and an actuator. Clutch fluid circulates between these two components. When we speak of “dust” in the fluid, the dust is actually the accumulated friction material that is generated with use. This dust circulates through the system when the clutch is cycled in and out. Of course, it is abrasive and it will eventually damage components such as seals. Also, clutch fluid will degrade. Its water content will boil (emitting steam/gas) at high heat. Degraded and/or “dirty” fluid is easy to identify. In its new state it should be nearly clear. When it is dark and cloudy, it needs to be changed. No amount of clean fluid will heal damaged parts, so preventive maintenance is key.
Changing the Clutch Fluid
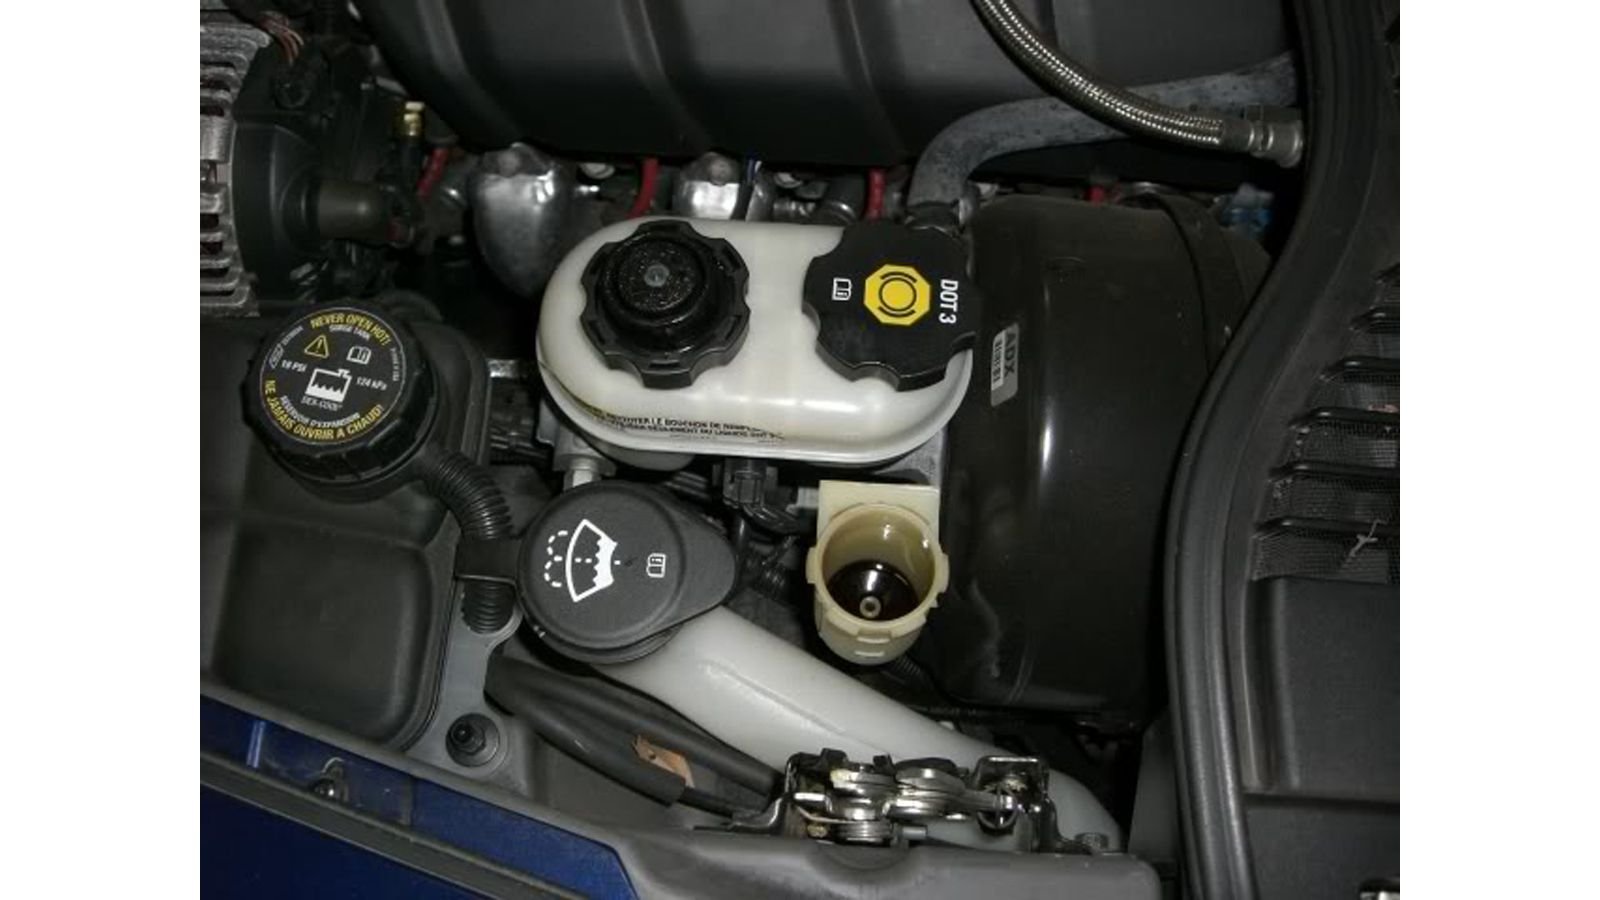
Step 1 – Inspect the fluid in the clutch master cylinder
The clutch master cylinder is located near the brake master cylinder. Remove the cap and diaphragm/bladder to inspect.
Warning
Clutch (brake) fluid is corrosive and can damage paint and other parts, so be careful to not allow any to drip on other parts.
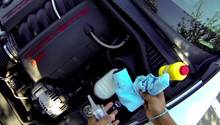
Step 2 – Draw out fluid from the master cylinder
Using a syringe or turkey baster, draw out the fluid. With a clean, lint-free shop towel, wipe down the reservoir and diaphragm.
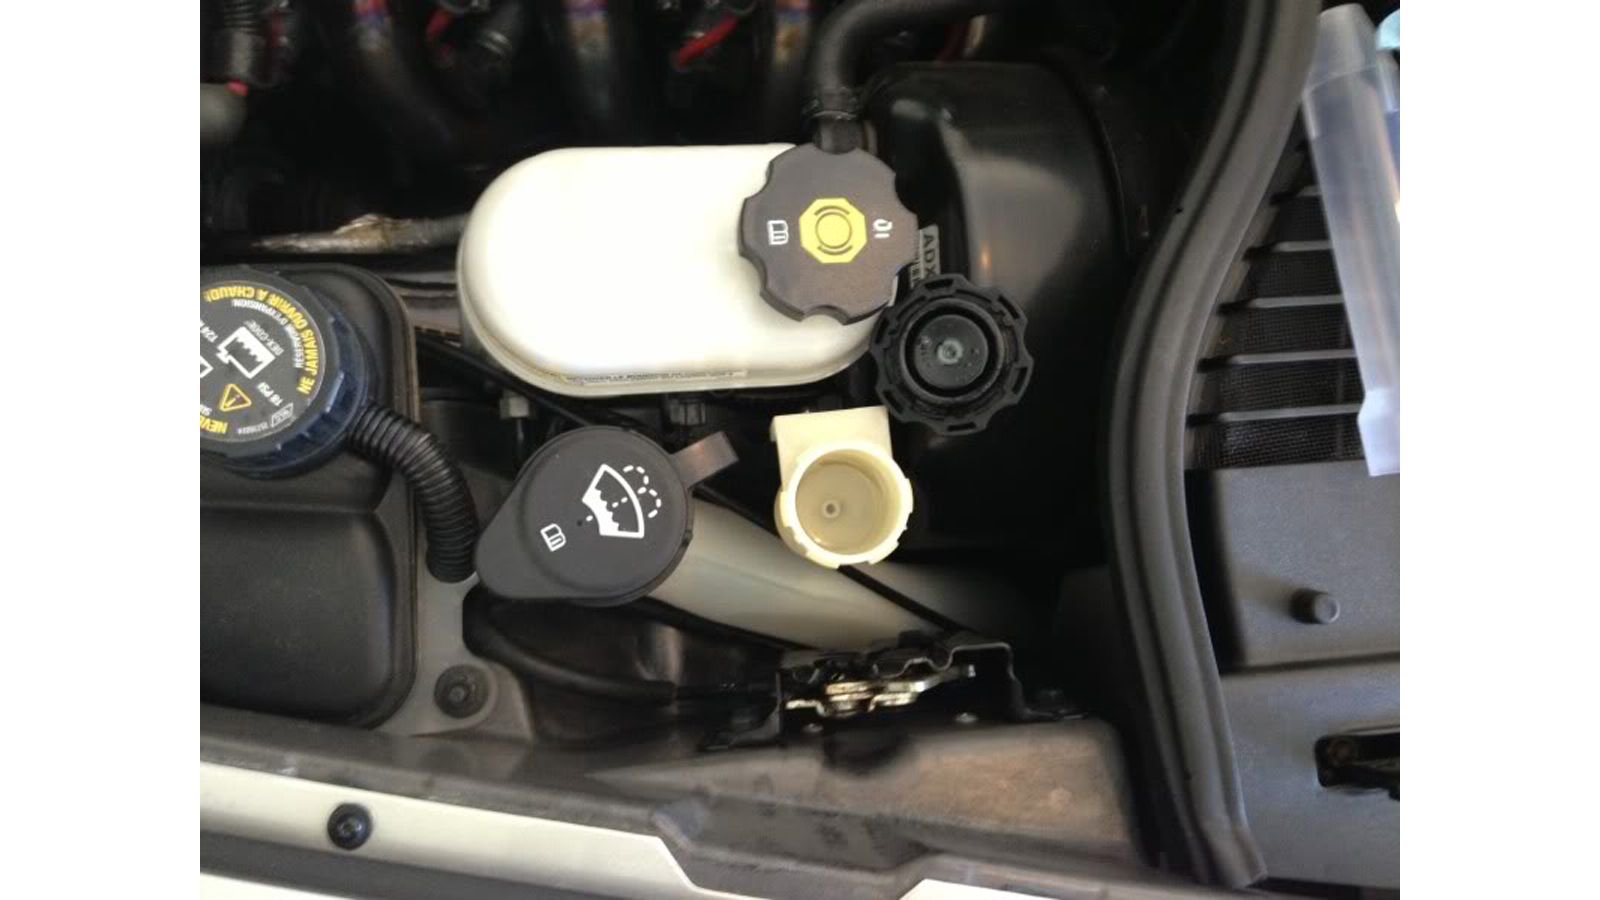
Step 3 – Refill the reservoir and replace the diaphragm
Locate the “fill” line and refill the reservoir to just below the line. After you've done this, replace the diaphragm and secure the cap.
Pro Tip
If your reservoir has a “min” and “max” line, fill to the mid point.
Step 4 – Circulate the new fluid
With the engine off, pump the clutch pedal (full top to full bottom) 20 to 30 times. This will circulate the new fluid and blend it with the old fluid. It will also help dislodge any captive residue and displace any trapped air.
Pro Tip
You can also drive the car for about 5-10 miles to circulate this new fluid.
Step 5 – Re-inspect the fluid in the reservoir
If the fluid is still cloudy and appears dirty, repeat the process until clean fluid is achieved.

Pro Tip
Water and air in the system will increase the risk of damage. Take precautions to not introduce these into the system. To do this, only have the cap off (either master cylinder or new fluid container) for brief periods of time, cut a slot in the membrane of the new fluid container rather than totally removing the seal, and keep any unused fluid in a Ziplock bag to store. Only keep it for 30-60 days.
Step 6 – Set up a regularly scheduled clutch fluid change
Even very dirty or degraded clutch fluid can be completely exchanged in about 10 reservoir changes. Once accomplished, depending on your driving habits, you may find that this exchange process should be done every 2 years or 20k-24k miles.
Replacing Clutch Components
Without preventive maintenance or more importantly, with certain driving techniques, you may find that you will have to replace all clutch and hydraulic components. Riding or slipping the clutch to keep up RPM and dumping it to launch may necessitate a complete component replacement.

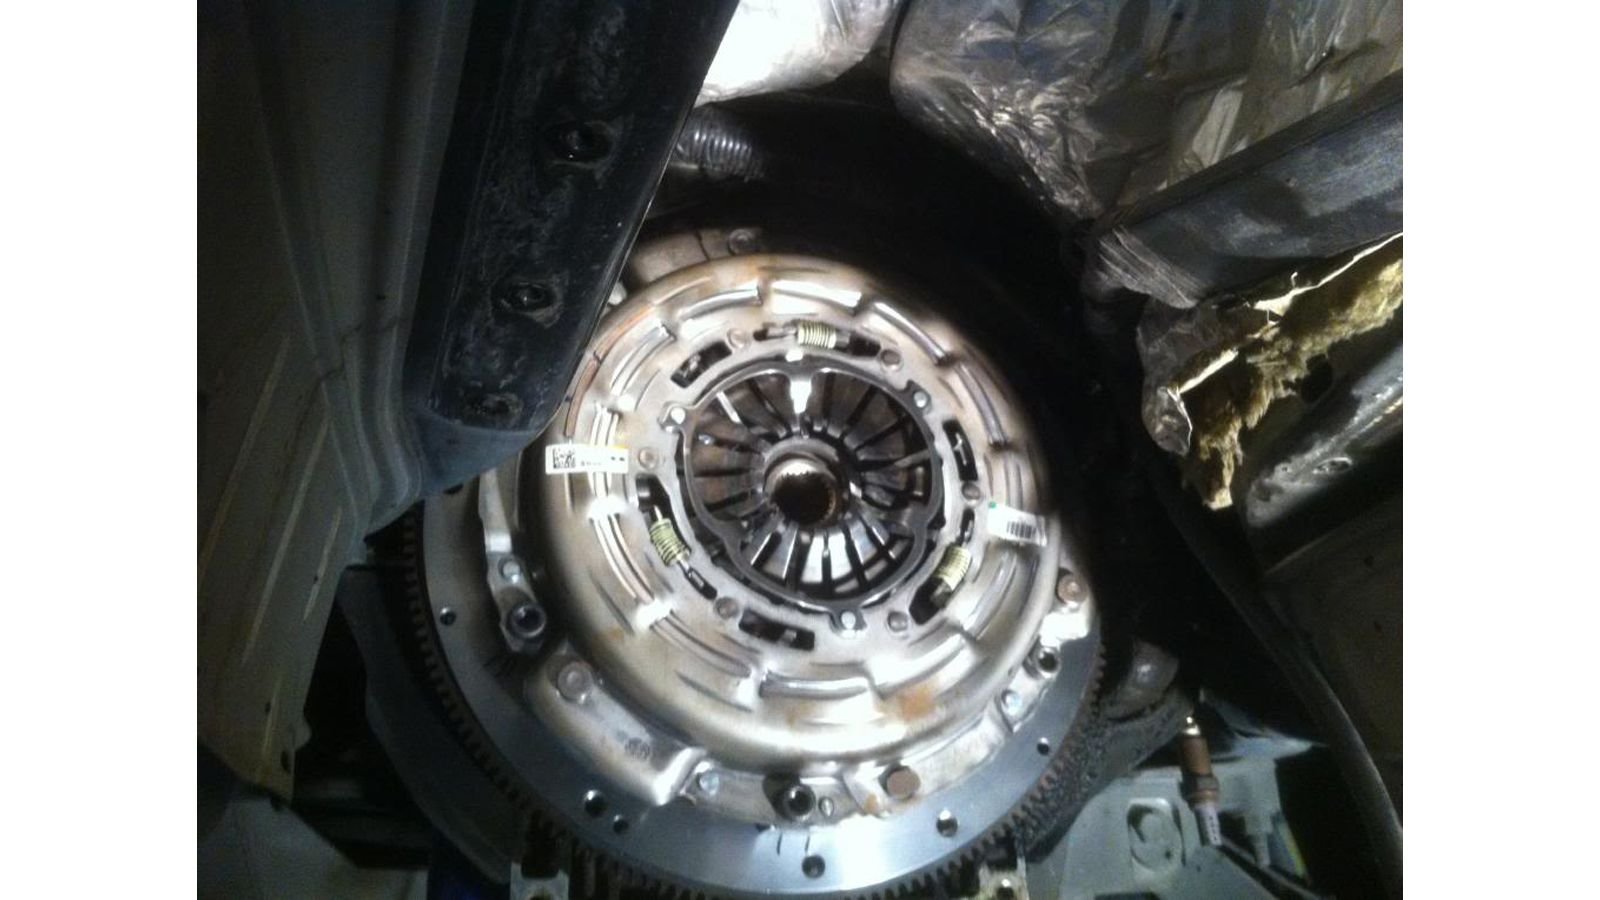
Unless you have an aftermarket heat tolerant clutch, excessive heating (when you can smell the “clutch burning”) may mean that you have “glazed” your clutch, more specifically, the pressure plate. The abrasive material on this surface heats to such a degree that it solidifies, becoming shiny and glass-like. This reduces the friction coefficient that creates the “bite” and “grab”. In other words, the pedal goes to the floor and rpms rise, but there is no “go” (similar to brake fade).
Sometimes, this overheating does not necessarily mean that you have completely damaged your clutch. A simple “cool down” period (30-60 minutes) may return your clutch to normal operating condition as you have not completely “glazed” the clutch as friction material manufacturers define the term. Yet eventually, cumulative heat will reach a critical point and your clutch will glaze entirely.
Even if you replace all components, if you continue aggressive driving habits and/or do not take preventive maintenance steps, you will find these symptoms and issues appearing again. To avoid this, take these necessary steps:
- Keep your clutch fluid clean with regular changes.
- Keep slipping, feathering, dumping and popping to a minimum.
- Keep launch RPM to no greater than 3600 and use the clutch in one continuous motion.
- Refrain from power shifting.
- If you smell burnt clutch, allow for a cool-down period.
Pro Tip
Remember, the OEM C6 clutch is not a drag racing clutch. It has been engineered for a long life with regard to normal, high-performance street driving stress.
Related Discussions
- Clutch Fluid - CorvetteForum.com
- How to Replace Clutch Fluid - CorvetteForum.com
- Notes on Clutch Replacement - CorvetteForum.com