Applying a ceramic coating is best completed in the garage. You don’t want to complete this process in direct sunlight, or when the surface is warm to the touch. The optimal temperature range for applying ceramic coating on a Corvette ranges from 50-degrees F to 80-degrees Fahrenheit. Before getting started with this project, it is crucial to complete the preparation steps. Click here to look at the step-by-step guide for prepping your car for ceramic coating.
What Supplies You’ll Need
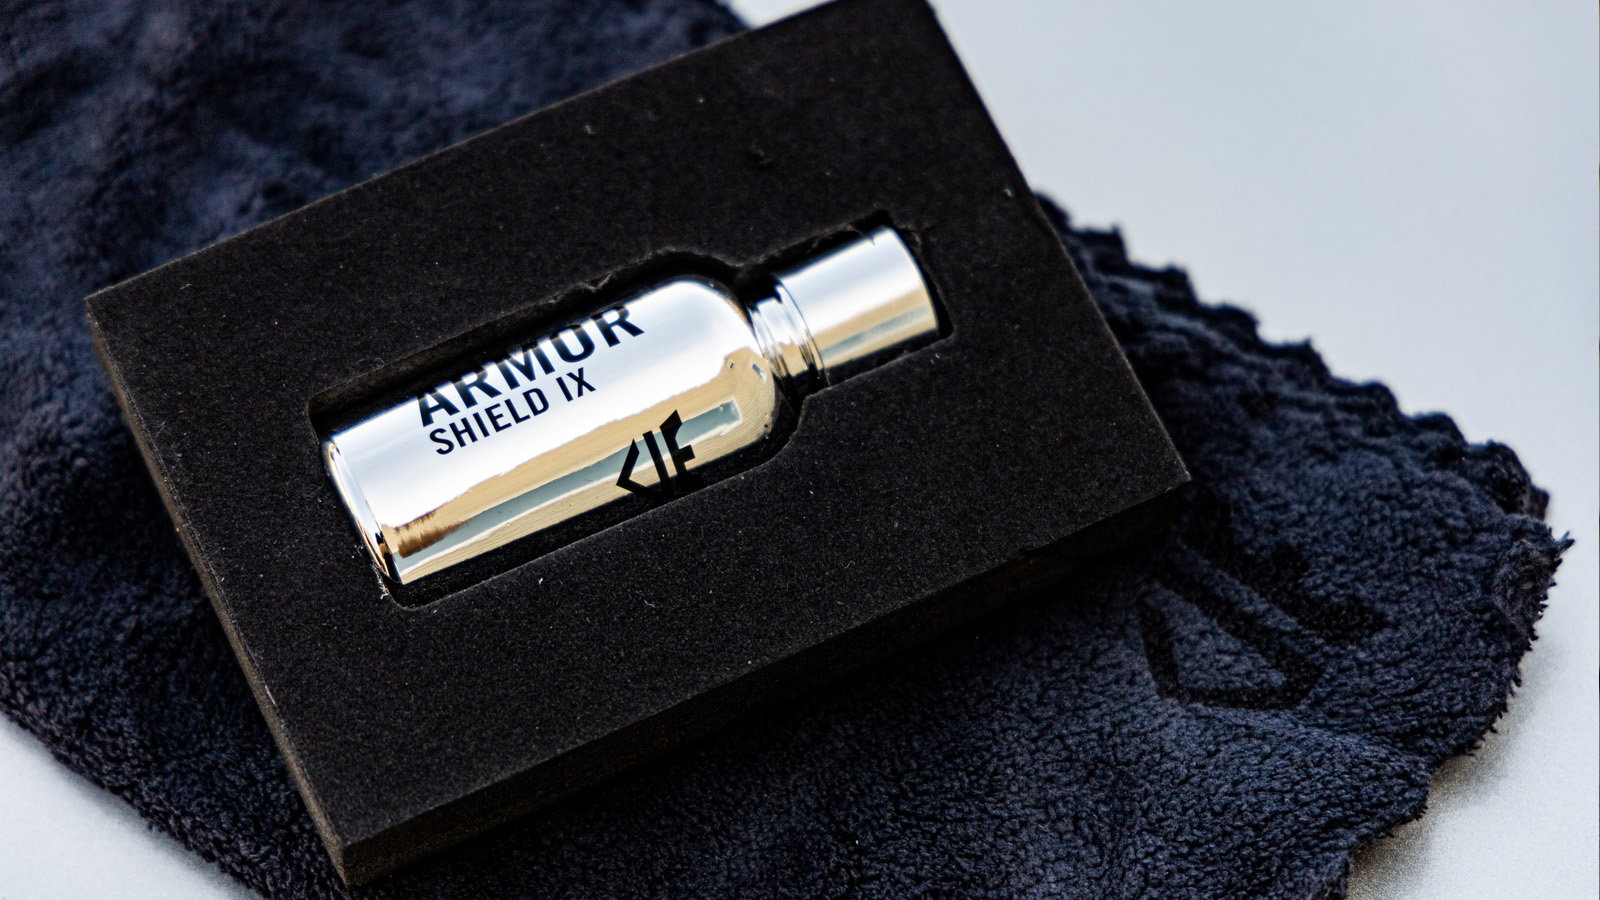
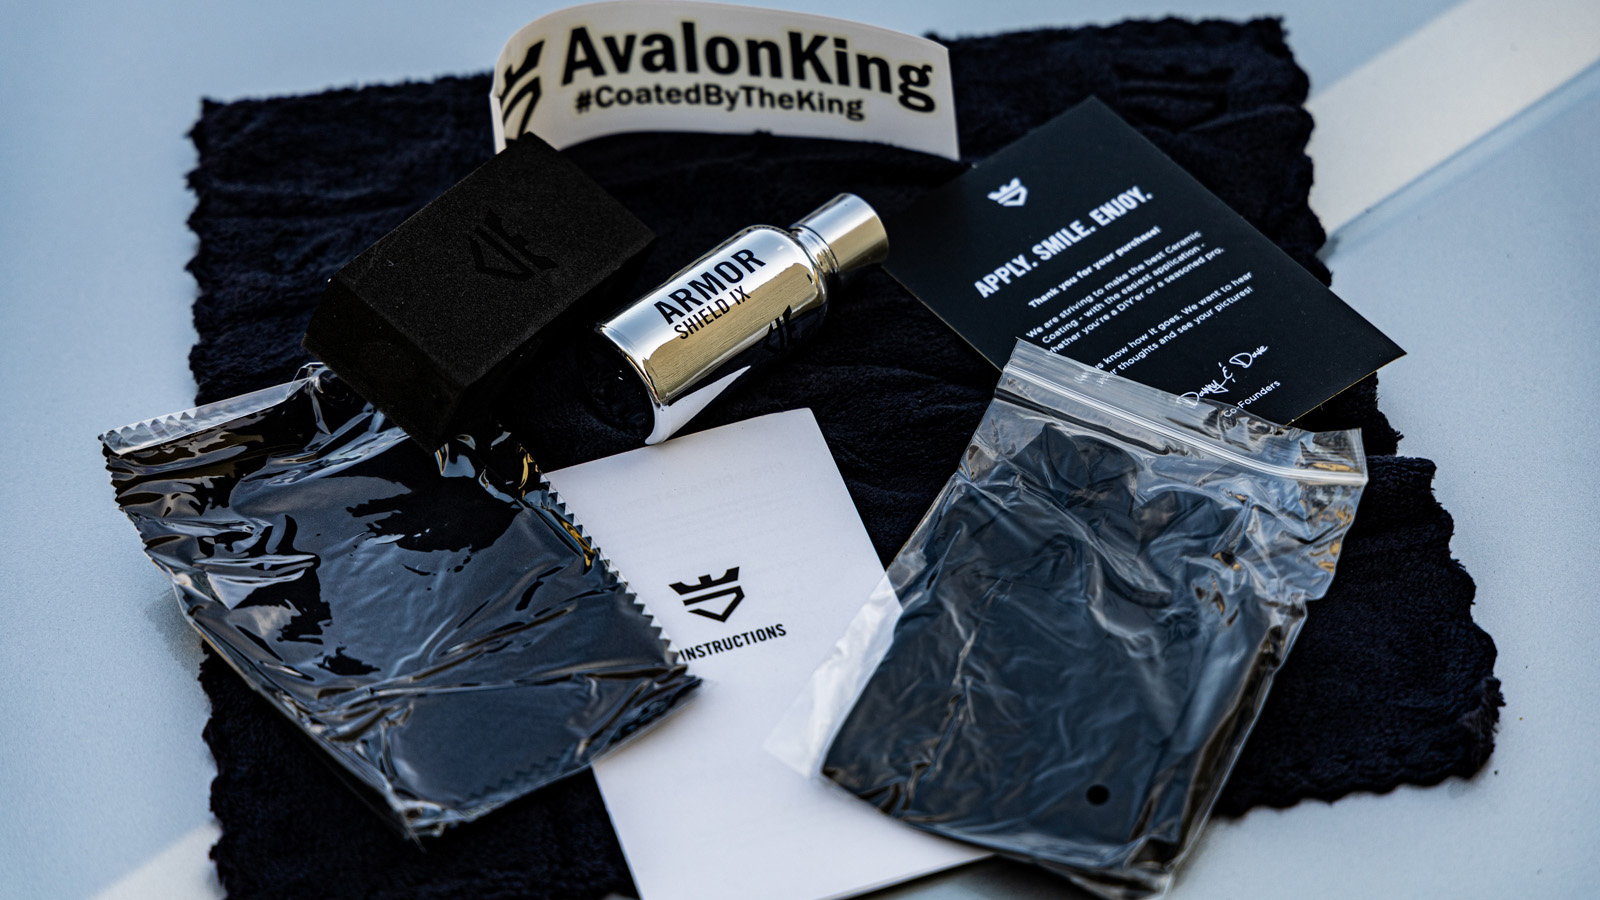
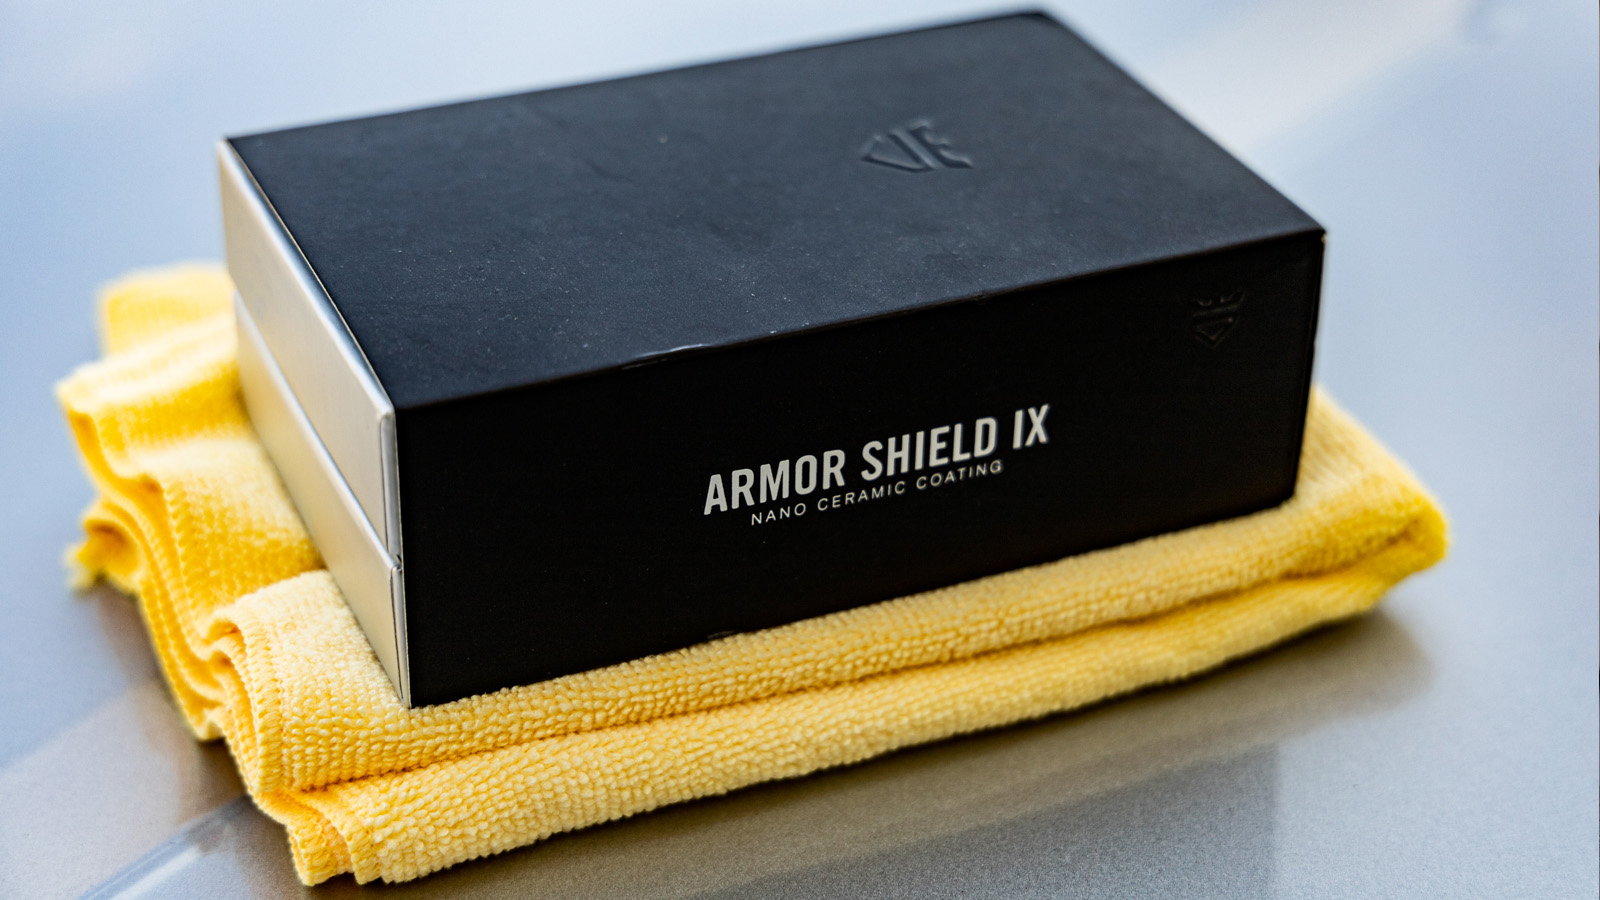
If you’re going to use a DIY ceramic coating, the best products will be packaged in a kit and include everything needed for the application. CorvetteForum recommends the Avalon King Armor Shield IX kit.
(2) 30ml Bottles or Kits: One bottle will provide a single coat on a Coupe, but it’s recommended to apply (2) coats to ensure even application.
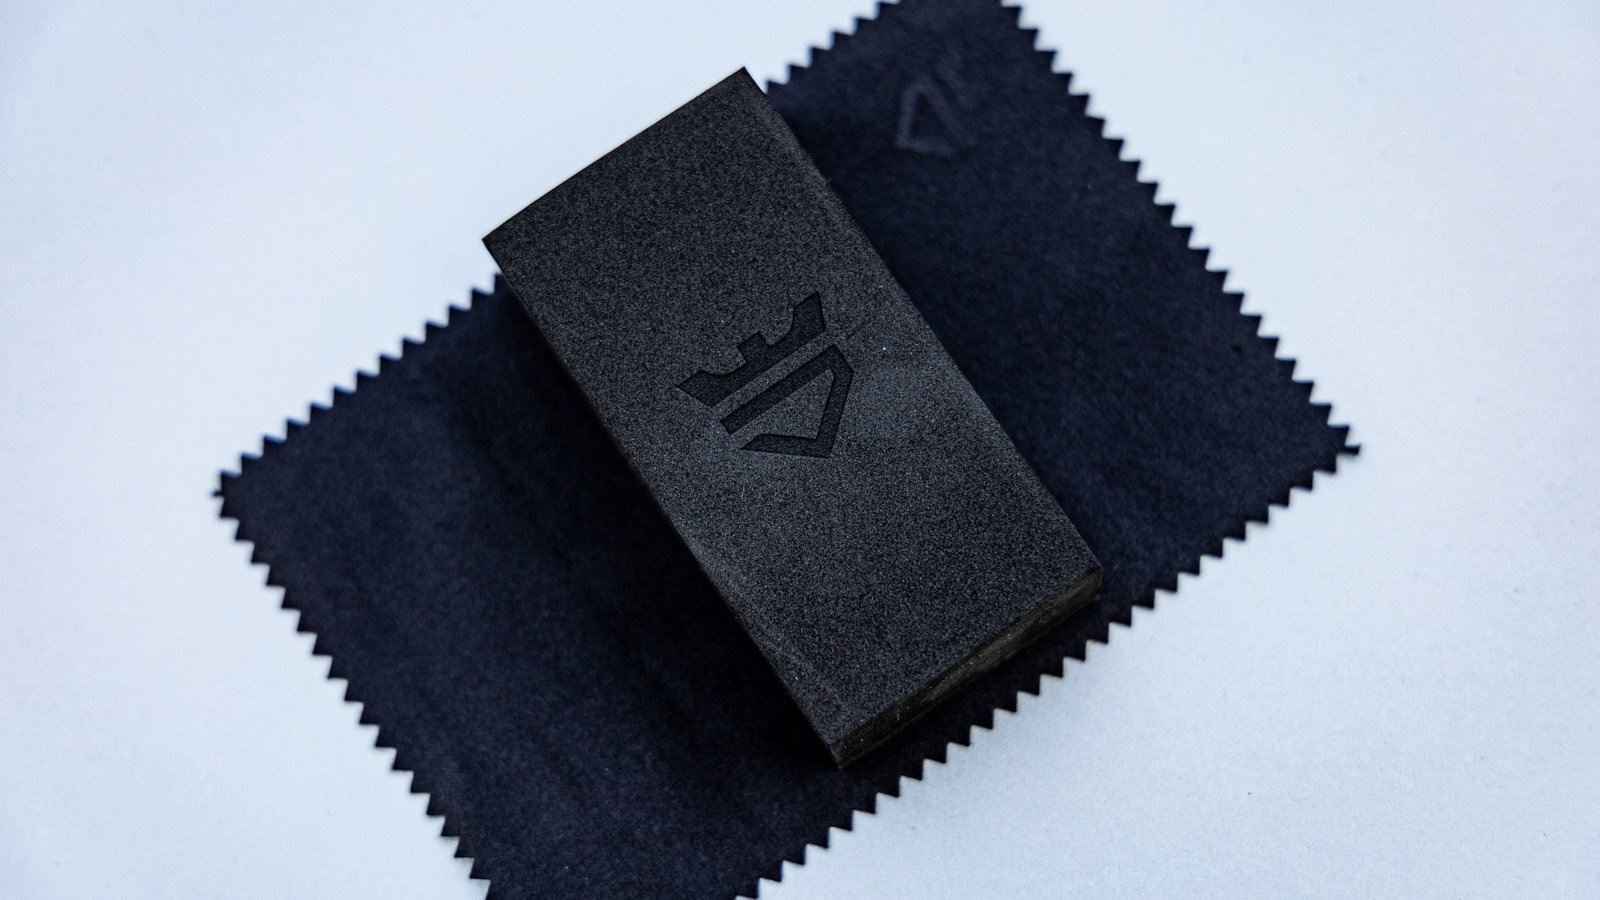
Applicator Sponge
4 to 5 Applicator suede cloths: It’s best to use a new applicator suede cloth if you stop for more than 10 minutes.
Nitrile Gloves: A high-quality nano ceramic coating is going to be very sticky. Make sure to protect your hands.
Microfiber Buffing Towel: This is used to buff off the residual after the coating flashes.
How to Apply Ceramic Coating
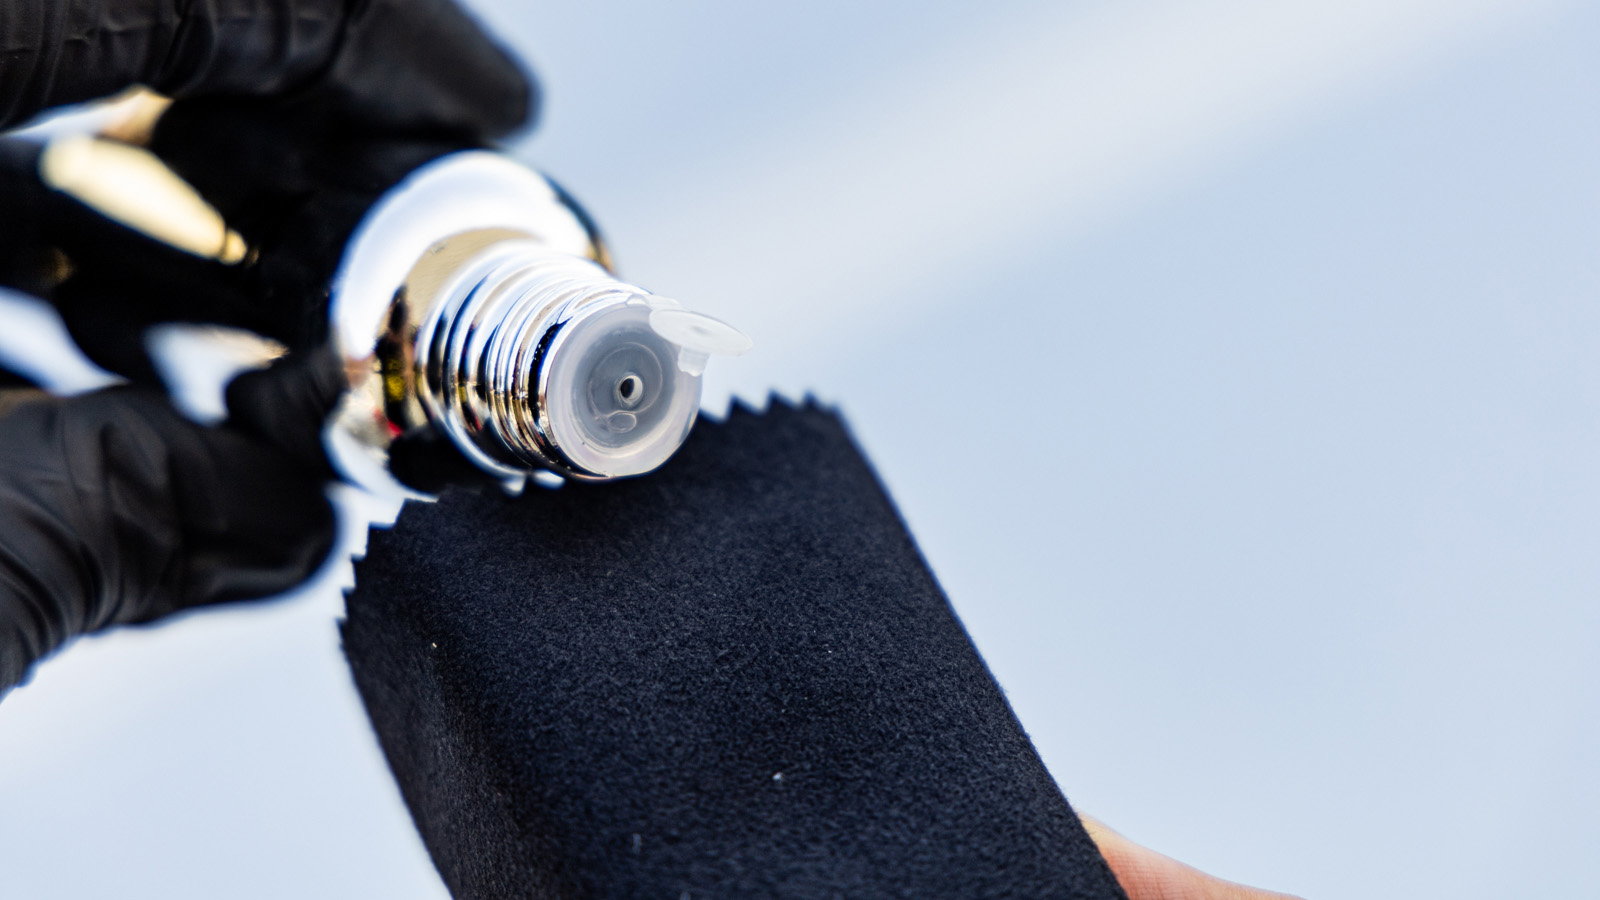
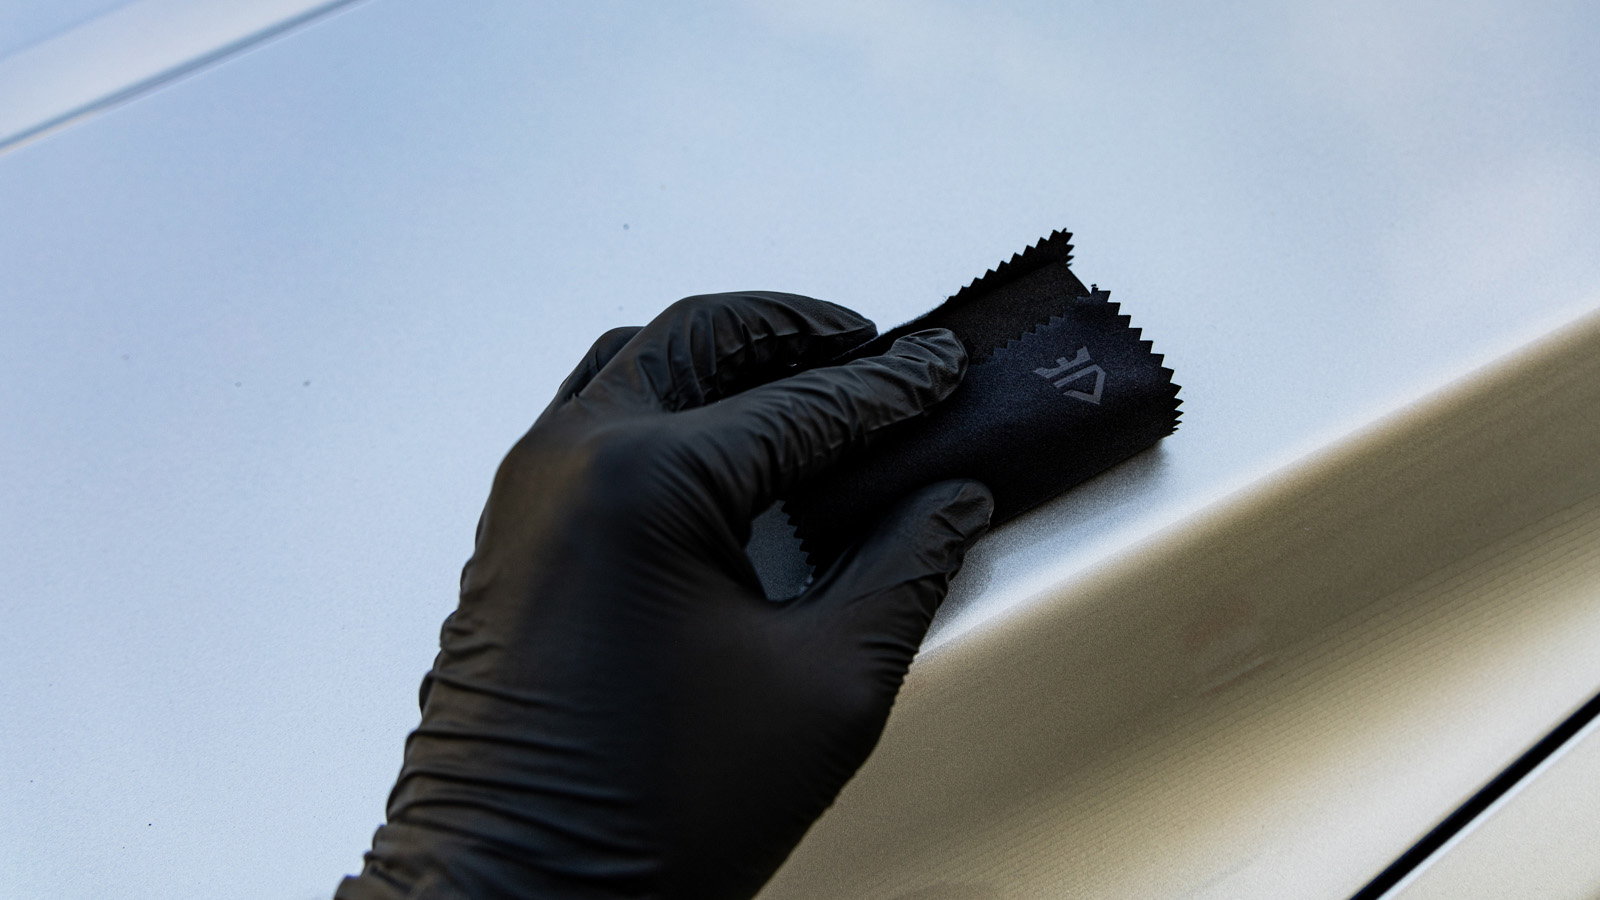
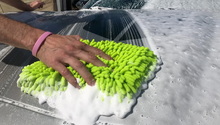
1) Wrap (1) of the suede cloths around the applicator sponge. Make sure to wrap it around the soft side of the sponge.
2) Shake the ceramic coating bottle well.
3) Apply a few drops along the suede applicator cloth. You should strive to have even coverage over the entire length of the cloth.
4) Wipe the coated applicator cloth on the surface. It’s best to work in 4x4 foot sections. Start by guiding the applicator from left to right until you’ve wiped the coating along the entire section. Follow that up by going in a vertical pattern – top to bottom, until you’ve completely coated that section.
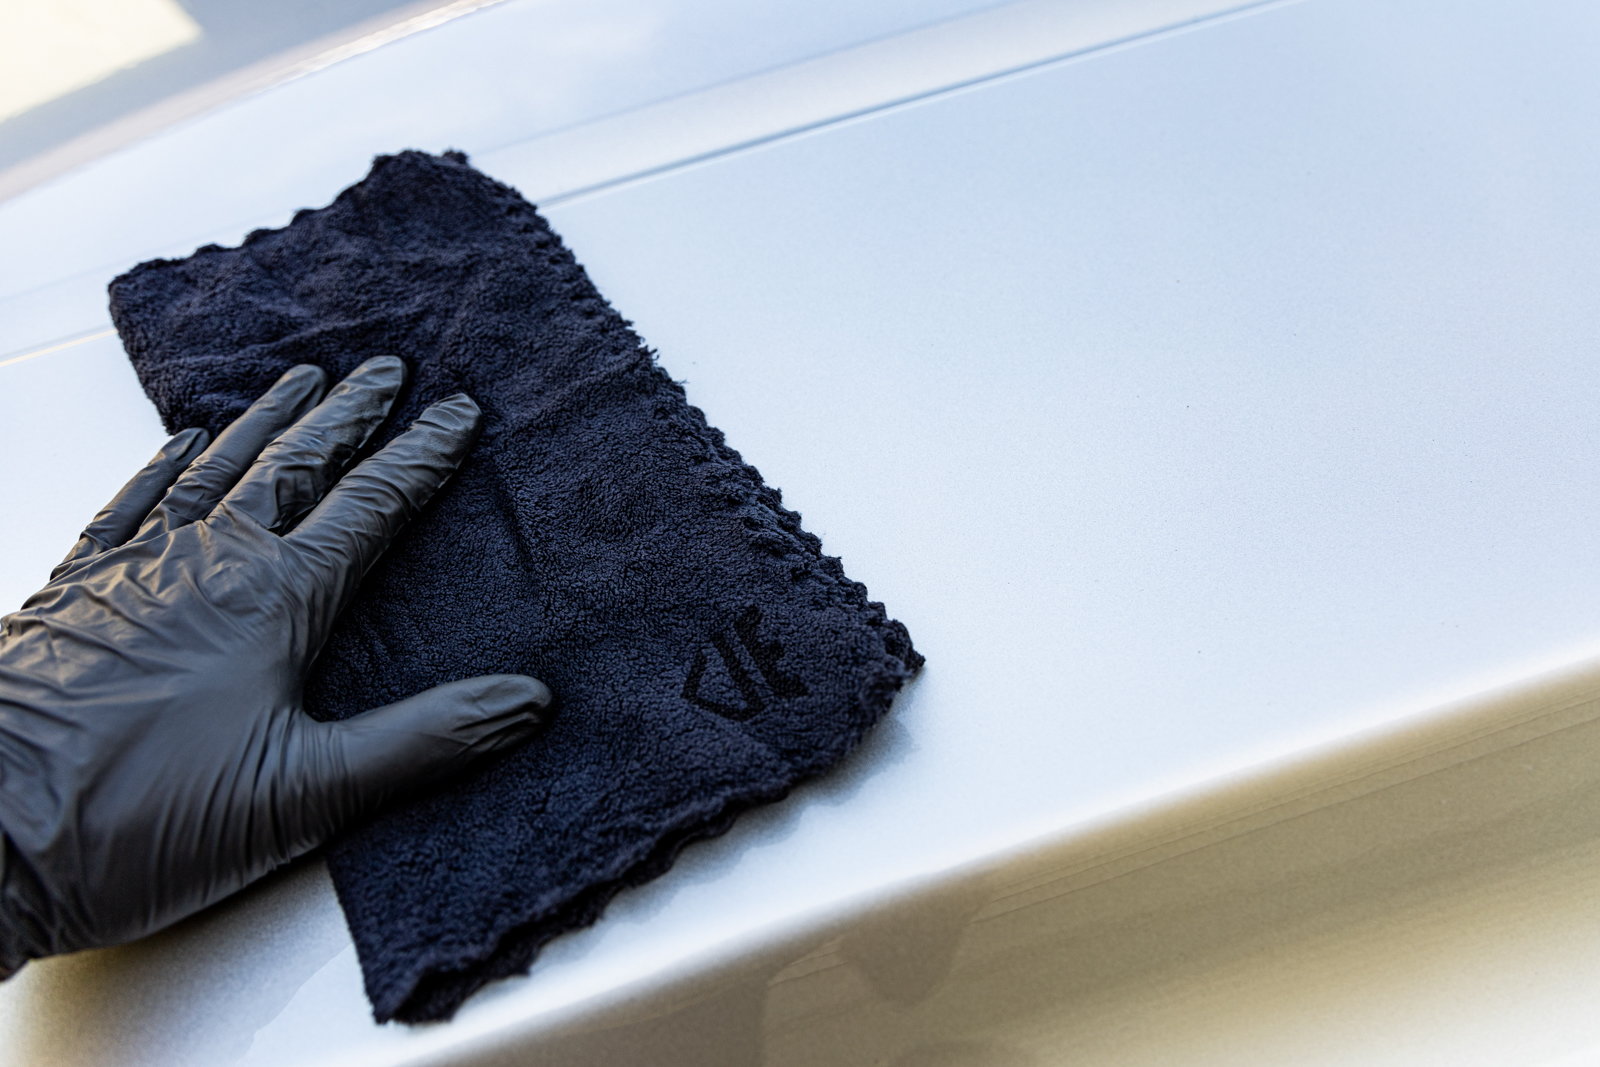
5) Wait for about 3 to 5 minutes for the ceramic coating to initially dry. You’ll start to see a haze appear on the coating as it begins to “Flash”. This is a sign that it’s about ready to remove.
6) Using the clean buffing microfiber towel, remove the residual from the coating – again – in a left to right, top to bottom pattern. Do NOT remove in a circular pattern.
7) Continue with this technique and method until you’ve completely coated the vehicle.
If you’d like, the coating can be applied to windshields, mirrors, headlights, taillights, and other glass – using the same application technique as above.
TIP: If you’re going to ceramic coat your wheels, it’s highly recommended to remove them from the vehicle, completely clean on the inside and out, then apply the coating. When the coating has cured for a few hours, you can reinstall the wheels and torque to manufacturer settings.
Once the vehicle is fully coated, allow 1 to 2 hours and then (if you’d like – but not required) repeat the process to add an additional layer for improved performance.
TIP: Always inspect the vehicle as you go, especially after the buffing, to ensure you don’t have any high-spots or residue.
The Curing Process for DIY Ceramic Coatings
A high-quality DIY ceramic coating is going to cure within a 24 to 48-hour period. During this time, it’s best to keep the vehicle outside in direct sunlight if possible. This helps the coating to ‘bake’ and accelerate the curing process. However, if it’s windy outside, or if you live in an area with a lot of pollen or dirt, it’s best to keep the vehicle indoors. The most important thing to remember is to ensure no water touches the coating during this initial curing. You may have seen videos of people ‘testing’ the hydrophobic effect after application, but this is a bad idea. Let it cure for at least 24 hours before getting the vehicle wet.
After Care for DIY Ceramic Coatings
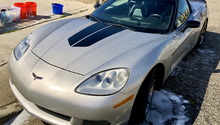
When the coating has bonded to your Corvette’s body and other parts, you’ll have a durable and long- lasting layer of protection. The coating is 100% transparent, and will enhance the gloss of paint, or the matte effect if you have this type of finish. It also works on vinyl wraps, PPF, and even chrome.
For optimal results, there are a few recommended tips for aftercare.
Wash your vehicle every two weeks. Do NOT take it to a drive-through car wash. Always hand wash using the two-bucket method.
Use a pH neutral, wax-free car shampoo made for ceramic coatings. This will remove all debris from the surface without scratching or leaving a residue of car wax or sealants on top of the coating.
Do NOT wax on top of your coating. Wax and paint sealants will reduce the hydrophobic properties of a ceramic coating. It can also enhance the ability of dirt, debris and even water spots to occur on the coating if you use these products.
Always use an SiO2 Boost Spray. A ceramic boost spray is a great maintenance product that will provide a protective layer on top of your ceramic coating. A high-quality product will contain about 20% SiO2 or Silicon Dioxide. This type of product should be applied after washing and drying the vehicle, and every two months for optimal results.
What’s the Best Ceramic Coating for Corvettes?
If you’re a hands-on kinda Corvette owner, there are a few great products on the market. Our favorite for the Corvette, and widely regarded as one of the very best kits on the market today is Armor Shield IX. This ceramic coating kit comes in a package that includes everything you’ll need to apply a quality ceramic coating. (1) 30ml bottle is enough to apply a single coat a two-door coupe like a Corvette. The cost of a single DIY kit of Armor Shield is about $70.
Every year, technology introduces new solutions to common, everyday problems. This is especially true in the automotive space. If you’re going to upgrade your vehicle protection game by applying a nano ceramic coating, make sure to complete due diligence first. Research the company, check the fine-print on those warranties, and pick one that fits your budget and needs best.
Check out this quick checklist before getting started with ceramic coating your car.
Prepping for a DIY ceramic coating is arguably the most difficult and time-consuming part. Here's what you need to ...
How to Correctly Wash a Corvette
Here's everything you need to know to get your Corvette clean as a baby.
A spot free, completely clean, and brilliantly shiny 'Vette is flat-out sexy. While there are several waxes ...
Everything you need to know to get your Corvette looking shiny, and keep it protected.
This is a step-by-step guide to Super Clean your Corvette, starting from the rinse and wash, all the way down to polishing and ...
How to Wrap Your Corvette Parts in Carbon Fiber
Get that carbon fiber look without the carbon fiber price.
This article applies to the C5, C6 and C7 Corvette (1997-current).
The popularity of carbon fiber has ...
Looking to get that new car shine back? Here's everything you need to know to get you started on making your Corvette look as fresh as the day it came out of the factory.
If you're eager to restore the look of your ...
How to Paint Your Brake Calipers
Customize your calipers today. Use a statement color such as fire engine red for the greatest impact.
This article applies to the C5, C6 and C7 Corvette (1997-current).
Gone are ...